
Acrylic latex caulk (also called painter’s caulk) is a general-purpose household compound that is inexpensive to buy and used for different applications.
In layman’s terms, it’s a versatile filler that can seal the cracks and gaps around doors, windows, edge of skirting boards, in the ceiling, etc. The reason it’s also referred to as “painter’s caulk” is it can be painted over and dries fast.
Although mostly associated with painting (as it fills in the small gaps, nail holes, and other imperfections on surfaces before the paint is applied), there are numerous applications that make it a must-have for your household.
So, let’s discuss how you can use it for different purposes and what things you will need to keep in mind before applying it.
Uses of Painter’s Caulk
Painter’s caulk is easy to use and can be purchased with the following formulations…
- Acrylic
- Butyl Rubber
- Latex
- Polyurethane
- Silicone
In addition, this caulking compound made from siliconized acrylic latex comes with construction adhesives that make it a perfect bonding agent for most materials. This also means that you can use them for a wide variety of projects which include the following…
1- Prevent Outside Air from Coming In
Using acrylic or vinyl latex caulk will seal up small cracks and holes that let in the outside air into your home.
While the latex version is good for up to five years in humid environments, acrylic works far better in dry environments and lasts up to 15 years. But you can do more than just keep the outside air from coming in.
2- Keep Out Pests
The same technique can also be used to keep the pests out, particularly small insects that may cause considerable damage to your home.
You can use mortar or concrete repair caulk on stone-based materials such as concrete, stucco, and brick, although it also works on metal.
You can use this caulk on your foundation and your basement walls to keep critters from coming in through the ground. And you can paint over the caulk once it dries.
3- Fix the Cracked Tiles
Although tile is one of the strongest and most durable materials, it can also develop cracks that allow moisture. Left untreated, mold and mildew can form under the tile and cause considerable damage to the home.
But worry not, if you have bits of tile coming up, painter’s caulk can glue them into place. Just place a little behind the loose material and press. It’s the perfect solution for tile that is breaking apart or coming up from the floor. It will even work on wood paneling; you do not have to use nails.
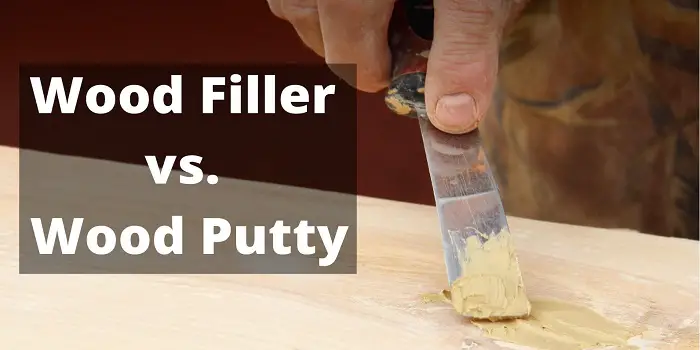
4- Fill Wood Gaps and Imperfections
Even the best cut can leave imperfections in the wood. This means that your baseboards and moldings may have small gaps that need filling.
The best caulk here is acrylic which can dry and be painted over relatively quickly to seal these small gaps.
Another advantage of acrylic caulks is that they come in several different colors, so you can match the wood material with them. For instance, if you are sealing joints between wood parts of your exterior window trims or wood siding, you can match them with the overall color that matches or complements your building.
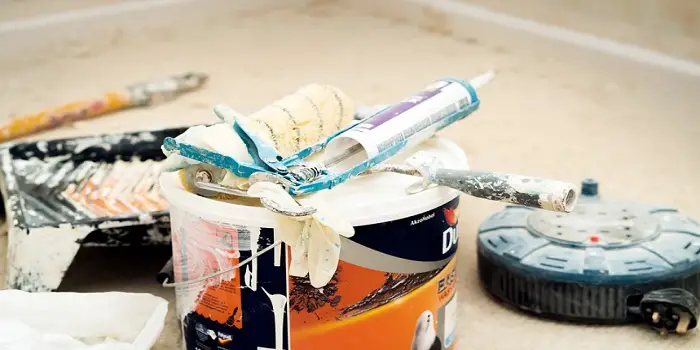
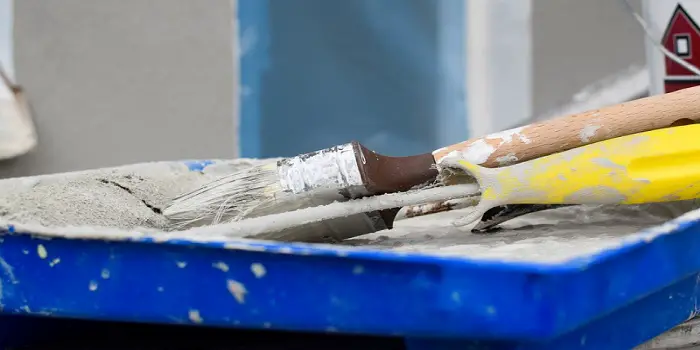
5- Paint Preparation
If you are painting over wood, masonry, or other surfaces, then you can use caulk to smooth them out. This will allow you to achieve a smooth finish with your paint project.
For those who like to paint on different projects, the fast drying time is a real advantage.
6- Wallpaper
One of the issues with wallpaper is that it can pull up when it dries, leaving spaces between each section. Caulk can be used on the seams and particularly the corners to keep it in place.
Use a damp sponge or a finger that is wet to smooth out any bumps created by the caulk.
7- Repairing the Roof and Gutters
Caulk that is resistant to heat and humidity can do larger jobs such as repairing cracks or openings in the roof. Plus, it can help keep your gutters working smoothly as well by sealing up joints and other issues.
How to Apply Painter’s Caulk Correctly?
Now that you know what this substance can be used for, it’s important to understand how it can be applied.
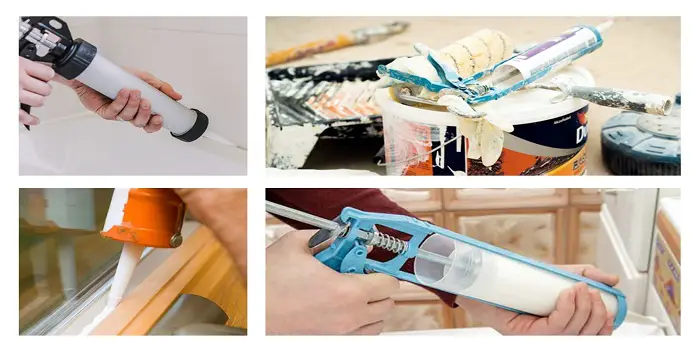
You will need to use a proper caulking gun to apply the painter’s caulk.
Just open the end wide enough for the smallest amount you need to get through. One trick is to cut the tip at an angle which makes the application easier to perform.
For application purposes, it is best to start with the smallest of gaps and imperfections. The key to applying the caulk is steady, even pressure. You can put in a small first coat, let it dry, then apply a second coat for maximum effectiveness.
After filling up smaller gaps, you can widen the opening to allow for more caulk to be spread on larger gaps.
For tiny holes, such as those created by a nail or bugs, you can first put the caulk on the tip of your finger and then press it into the hole.
Keep a damp rag or cloth nearby to wipe away any excess. Because once it dries, it will need mineral spirits or acetone to be removed.
Also, a cup of water can come in handy to help you shape the caulk properly when applied. So, keep some water in a small cup nearby to moisten your finger, which can then spread the caulk evenly in the space.
If you get the caulk on your skin, use soap and water to rub it away before it cures. Otherwise, you will have to scrape it away, which is not all that pleasant.
Ideal temperature and drying time
The ideal temperature to apply the painter’s caulk is at least 40 degrees Fahrenheit. This will keep the substance from freezing or becoming sludgy and not very useful.
Once applied and exposed to the air, it takes about five minutes before it becomes hard enough to smooth or skim from the surface. After one hour, you can paint on the surface as the caulk has become hard and dried.
But be aware that the drying time will also depend more on the type of caulk used (I will discuss more below).
once you start using a cartridge filled with painter’s caulk,
Tips for protecting the unused caulk
Remember that once you open the cartridge, it exposes the caulk inside to the outside air which will make it dry faster. More or less it will be good for about 24 hours after which you will need to discard it.
You can delay that process by sticking a nail into the end of the cartridge to temporarily seal it from the open air. This will prevent the caulk from creating a “skin” that, if it hardens, may not allow you to get out the rest of the caulk.
If you plan on setting down the caulking gun for more than a few minutes, put a nail with a head large enough to cover the opening until you are ready to use the caulking gun again.
How Long After Applying Caulk Can You Paint?
Caulking is an important step to take before painting. By sealing up the cracks and smoothing out the imperfections, you can make the painting process go smoother.
But how long you need to wait until the caulk dries will depend on the type of caulk that you choose.
Assuming you are not using non-paintable caulk, there are three basic types, acrylic latex, polyurethane, and silicone. Depending on the type you use, they will dry as follows…
| Acrylic Latex | 24 hours |
| Silicone | 12 to 48 hours |
| Polyurethane | 3 to 10 days |
As you can see, there is a considerable difference in the drying times with each type of caulk.
These times can vary depending on the humidity in the air along with the temperature. Plus, the more caulk that is used in a single area, the longer it will take to fully cure.
How can you make caulk dry faster?
To dry or cure the caulk at a faster rate you should remove any excess moisture both on the surface and in the air.
- Wipe the surface dry before applying the caulk
- Increase ventilation by opening windows and turning on the fans
- Use dehumidifiers to remove excess moisture from the air
- Purchase a low-temperature caulk as this works best in cool, damp environments
If you are using silicone caulk, you can add heat to the drying process.
A good heat source is a simple blow dryer set at a moderate temperature and applied properly. Keep the drying at least 12 inches away and run over the surface for 5 to 10 minutes.
What will happen if you paint over caulk that hasn’t been cured?
If you paint over un-dried caulk, you probably will not notice anything immediately. However, once the paint starts to dry, it will crack along the areas over the still-wet caulk.
This is because the caulk is not only drying but shrinking which will pull at the paint as it dries, causing it to crack. And you will have to paint over the surface again.
Remember that silicone may take longer to cure or dry compared to acrylic, but it can also be painted over while still wet.
Some silicone formulas allow for painting in as little as 30 minutes after being applied if you are using a brush. But if you spray the paint on, you can do so almost immediately after applying the silicone caulk.
The other types of caulk will need at least 3 hours of being exposed to the surface to be cured. This is called a “skin” that develops on top while the caulk underneath continues to dry.
You will need to protect the caulk from any precipitation if that is the case until it fully cures. This is why clear acrylic latex caulk requires up to 14 days before you can paint over it.
Be sure to check the instructions on the label before using the caulk. If you intend to paint relatively quickly, then clear acrylic latex caulk is not going to be suitable. Plus, there are some types of caulk that you cannot paint over, so be sure to read the instructions first.
Final Thoughts
Typically used before painting the surface, painter’s caulk is one of the essential items for professional painters, contractors, and homeowners. While it does have its limitations, it also has many uses that can be performed when completing projects.
Silicone caulk is generally the best as it is perfect for the humid environments of the kitchen and bathroom. You can also use silicone caulk for metal, glass, and ceramics.
While acrylic caulk also works well on ceramics and glass, it can be used for tubs and tile as well, though not quite as strong as silicone.
All this simply means that a little caulk of the right type can go a long way toward keeping your home safe from cracks and separations. So, choose the one that is most suitable for your project and make sure you apply it correctly to get long-lasting results.
Share the post "What is Painter’s Caulk – Uses and Application Tips"
One thing which I have learned so far in my career is that people do make mistakes while renovating their Read more

Termites are a real nuisance when they attack your place. They have the potential to destroy your entire home furniture Read more
As a professional painter, I have used painter’s putty for my entire career. The easy application and smooth finish make Read more
Expanding foam filler is a type of polyurethane foam for those who create, fix, or restore items in a DIIY Read more

Douglas Becker (aka Painter Doug) has over twenty years of experience as a painter in Adkins, Texas. At present, he resides in Florida with his family.
From painting multi-storeyed houses, condos, and apartments to large commercial buildings and small offices, he had served various customers in areas not only in Adkins but also in Southwest Florida, Sarasota, Naples, and many more. To know more about him check here.