
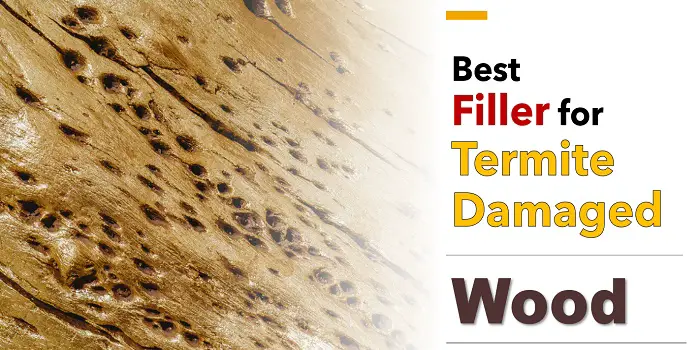
Termites are a real nuisance when they attack your place. They have the potential to destroy your entire home furniture within a very short period of time. And believe me, getting rid of termites at the initial stages is only the perfect solution.
This means that as soon as you find any termite-damaged wood, it’s good to get it treated and fill up the tiny holes with a high-quality wood filler before they become large and hard to fill.
On the market, there are a number of wood filler brands such as Minwax, Bondo, Elmer’s, Famowood, and LePage. You can try to use any of these wood fillers to fix the wood damage done by small insects like termites, ants, and others—before opting to replace the entire piece of wood.
In most cases, they will work effectively if the infestation has been treated and the structural integrity of the wood is still largely intact.
Just in case you don’t have wood filler available, you can kill termites and fill the damaged wood with products like wood hardeners, white cement, etc. Even though they are not the best options, these can act as a good alternative to wood fillers for the time being.
What's Here in the Article:
Can Termites Eat Wood Filler?
This is the very first question that may come to your mind when you plan to repair your wood surface with a wood filler. So, let’s answer this first.
Termites are after the cellulose from which wood is made. And that is what makes them eat wood, paper, cardboard, etc.
In fact, they can feed on anything that contains cellulose. However since wood fillers do not contain their favorite cellulose, they do not like to eat wood fillers.
Also, termite colonies will avoid eating through painted wood, cement, concrete block, or bricks as they find it hard to get their food source and needed moisture there.
If, however, the wood has peeling paint or bubbling paint, termites can find their way to go in and feed on cellulose.
They can then damage other nearby wood sources, including your expensive antique furniture, hardwood timber floors, and foundations.

How to Fill and Repair Termite Damaged Wood?
Wood Filler (also called plastic wood) is manufactured by several companies. It’s accessible in solvents and non-solvent-based variants.
Both are recommended for the same types of uses, but the non-solvent variant works better for the indoors as it doesn’t release hazardous vapors.
When you are planning to fix wood damaged by termites, following the right procedure is just as essential as picking and applying the right wood filler.
You can follow steps to fill the holes in your wood beam, damaged studs, door frame, hardwood floor, or even drywall as below…
Step 1. Preparation
Before you commence applying the wood filler, preparation is essential. You can prep the damaged wood in two manners.
First – with the help of a utility knife or chisel, chip the damaged wood. Due to termites, some of the wood parts may be weakened and softened which will not offer a solid surface to which the filler can stick, so it’s good to remove it.
Second, you can take the help of a screwdriver to put screws in the damaged areas. Depending on the damage made to the wood, you may decide the number of screws needed to fill the wood. Screws don’t just fill the gap with something long-lasting, but they also offer a solid bonding ground to the wood filler.
Proper surface preparation, such as cleaning out debris and ensuring the wood is dry, is also essential for the filler to adhere and perform well.
Step 2. Wood filler application
Wood filler is available in squeezing bottles and tubs. If you have purchased a tub like Famowood or Elmer’s, take some of the filler on your putty knife and place it in the damaged wood.
Fill as much of the space as possible by turning and twisting the putty knife at different angles so that the filler is well-placed inside the hole.
If you are using a squeeze bottle, put the nozzle in the hole of the wood and squeeze the bottle till the holes and gaps are completely filled. Wipe out the putty on the surface to get a clean finish.
Step 3. Finishing the repaired wood
Usually, wood fillers dry out in about half an hour but this can vary for different brands and products. So, it is important to check the specs of the product on the bottle or tub to know the time it exactly takes.
As soon as the filler dries, sand off the excess filler with 180-grit sandpaper. Complete the task by staining or painting the repaired wood area to match the rest of the furniture.
Can You Use Wood Fillers Outside?
Yes, there are waterproof wood fillers available in the market that can be used to repair exterior termite-damaged surfaces like a deck, garden furniture, etc.
As these weather-resistant fillers are designed specially to be used outdoors, they become 100% waterproof once they dry.
Many of these are also stainable wood fillers which means you can sand, paint, and stain over them to refinish the exterior wood just like new.
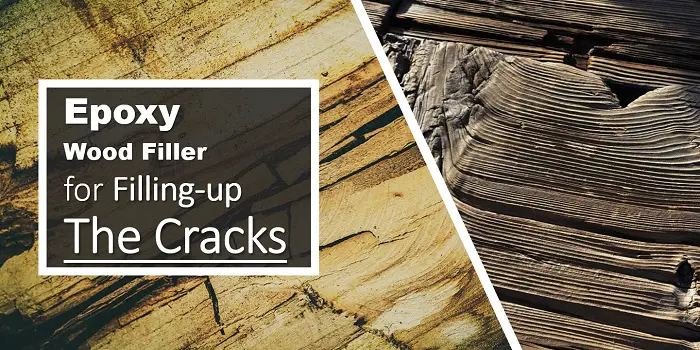
Can You Repair Termite Damage with Wood Epoxy?
The name epoxy and architectural conservation have been together for the past 40 years. But there are a few people reluctant to use them in their houses- not only because they find them expensive but also slightly mysterious.
However, you shouldn’t fear epoxies at all.
Epoxy filler, in reality, is an inexpensive and labor-effective way to fix holes and cracks in wood done to small pesky insects or due to rotting.
Some of the preferred candidates for epoxy repairs include wooden areas that are difficult to replace or tough to address via partial or complete wood replacement.
For instance, I used it recently to fill the holes in the wood beam of my porch. It was damaged by ants.
Below are the steps I followed to fix the ant-damaged wood. You can follow the same procedure for wood repairing with epoxy, irrespective of the damage made.
1st step
Wipe out any old paint or caulk present on the wood. It will help you see the complete damage. Then use a round saw blade, cut a few slots in the damage, and fill them with red cedar-coated wedges via waterproof glue.
2nd step
Coat the complete base with an epoxy consolidant. You can call consolidant a thin and slow-healing epoxy that covers the friable wood fibers with the help of a hard resin.
You should use it in sync with fillers to offer proper adhesion. Then allow the consolidant to heal for a few hours before you start the next step.
3rd step
After the consolidant has cured, you have one more step to follow before filling.
The holes in the piece aren’t simple voids because insects created them; they may have an interconnected tunnel network. When you pour filler in the holes in the base, it will run out of the crevices and spread all over the surface.
In order to avoid this, you should seal the cracks via epoxy putty. You can do it with the help of a paste-like epoxy filler easily available on the market.
After you have efficiently mixed the putty, fill it in the cracks and crevices along the surface and the edge of the base to prevent it from leaking.
4th step
After the cracks are cured, it is time to fill in the thin liquid epoxy in the wood. This liquid filler is thin enough to flow into all the seen and unseen insect tunnels on the base.
It is also beneficial to fill long, narrow cracks on wood often seen on a weathered windowsill, for instance.
Keep pouring the epoxy till the void is properly full. Wait for some time and you will notice depressions developing which means that the epoxy is getting absorbed in the wood, and you can add some more.
Do this until you think no more can penetrate. As it cures, you will notice small depressions developing. It can be filled by pouring more epoxy or with the help of wood fillers to cover small holes and pits.
5th step
When the epoxy has completely cured, you can sand and paint it well.
Remember, the time epoxy takes to get cured depends on the temperature (and other environmental factors) you are working in. But it is advisable to leave it for a minimum of 24 hours before you start sanding and painting.

Things to Look for When Choosing High-Quality Wood Filler
If you are considering purchasing a high-quality wood filler to fill up termite-damaged gaps and holes in wood, then you will need to take several factors into account.
What follows are a few tips that will help you make the best-informed decision on which wood filler to choose…
1- Water or Solvent-Based
There are considerable differences between wood fillers that are either based on water or solvent. Knowing these differences is quite helpful in selecting the right product.
Solvent-Based: This type of filler contains either vinyl or epoxy. This means that it contains volatile organic compounds (VOCs), which are toxic and produce a strong odor. Although once dry, the VOCs that remain in the filler are mostly locked into place.
Solvent-based wood filler is stronger than its water-based counterpart and is perfect for projects that are exposed to humidity, water, extreme temperatures, the sun, and the elements. This wood filler is mostly used for outdoor projects and takes about one hour to dry. You will need to use acetone or turpentine for cleaning once it has fully dried.
Water-Based: This type of filler normally consists of wood fiber, cellulose, and gypsum. If you need a thinner filler, this product can dissolve in water and be ready for use.
The main advantage they offer is water-based wood filler has few, if any, VOCs, which are toxic and release a strong odor. This type of filler is perfect for areas that will remain dry, such as interiors.
You can apply as much as you desire, depending on how much filler is needed. It takes about 15 minutes for the filler to dry after being used. A little soapy water is all you need to clean it up after the filler is fully dry.
2- Drying Speed
Different ingredients mean different drying times for the wood filler. The fastest are the water-based, cellulose, and latex fillers that can dry in as little as 15 to 30 minutes.
Epoxy fillers tend to take longer, up to 30 to 40 minutes, and longer to dry fully.
If speed is of the essence, then choose the wood filler with the shortest drying time. However, if you plan on doing more work on the project, then a longer drying time is fine.
3- Color
This is an easy one as you should purchase a color that is the closest to the wood itself.
Most wood filler products come in a wide variety of shades, so bring an example of the wood if you can. This allows you to make the right choice without relying on memory.
If you paint over wood, the color becomes less important. However, if you are staining the wood, then you should choose a shade that is a little lighter than the wood itself.
4- Indoor or Outdoor
Most wood filler will be marked as being for indoor use, outdoor use, or both.
Since wood filler for outdoor use is designed to handle the ultraviolet rays of the sun along with the elements, then you should choose that type of project that will be outdoors.
Indoor usage for items that will remain indoors, such as floors, walls, and furniture.
Using one type for another purpose, such as applying an indoor wood filler to an outdoor patio chair, will result in shrinkage and cracking over time. Therefore, it is important that you choose between indoors and outdoors depending on the project.
There are wood filler products that can be used for both indoor and outdoor usage. They are mostly water-based, have few VOCs, and will last a considerable time even when exposed to the sun and the elements. However, the solvent-based wood fillers for indoor and outdoor usage tend to be stronger, if somewhat more expensive.
5- Ingredients
The ingredients used in the wood filler should be of paramount concern when choosing the one that best fits your project.
For example, if wood fibers are part of the ingredients, then you will not be able to sand the filler, which can be problematic if that is part of your goal.
Conversely, harder wood fillers may not be curved, which means on some surfaces, they will not conform to the shape properly.
Fillers with wood grain become wood when they dry. This lets you stain, sand, or curve them to the desired result.
However, a wood filler with adhesives will create a strong bond but fill a deep hole or crack. Plus, such fillers can only be stored for a short time before they become useless. So, use wood fillers that contain adhesives on small holes and purchase only a small amount at a time.
6- Type of Project
The wood filler you choose should be one that matches the task that it is required to perform. Such tasks include the following.
- Filling small holes, divots, or gouges
- Filling large pores or openings in open-grain wood such as oak or elm
- Smooth the texture of the wood
You can find the tasks the wood filler product performs on the label. Some are quite specific, while others are more versatile.
When in doubt, then the more versatile choice is the best. But if you know exactly what you want, then choosing a specific type of wood filler is the right choice.
7- Thin or Thick
Wood fillers can be thin like pancake batter or thicker like putty.
The thinner type is mostly used to fill small pores in open-grain wood, while the putty-like filler is mostly used to fill larger voids. It is important to choose the right type for your project.
Thinner fillers lack the body to fill larger voids, while thicker fillers are more challenging to apply in small holes or openings. However, some thicker fillers can be thinned if needed, which means if you are going to purchase the filler for different types of work, then the thicker version will be more versatile.
8- How Much to Purchase?
If you are a professional who works with wood all the time, then purchasing in bulk is the answer.
You probably already have a supplier if you work as a professional.But if you are not a professional, then you need to choose the amount that best fits your current project. This is because storing wood filler is difficult as it tends to dry out even if the container is never opened.
So, you should only purchase the amount needed for a single project, but there is one exception.
If you need to fill small holes or cracks, then from 4 to 16 ounces is generally enough for most projects. If you need more, such as to repair a windowsill or perhaps fix a broken wooden object, then quantities up to 30 ounces may be required.
Powdered wood filler is the best for massive quantities, such as a full remodel or restoration in your home.
You can purchase bags of 10 to 15 pounds of wood filler in powdered form and mix it when needed. When in this form, you can store the wood filler for a long time. This means that you can keep it in your garage or shed until needed. It is also fairly cheap for the amount you are purchasing.
9- Paste or Powder?
This decision will mostly depend on whether you need to have large amounts of filler available.
Going with the powder form makes perfect sense if you are a professional or a hobbyist who uses wood filler frequently. You can store it for a long time and only mix what you need.
However, if you only work occasionally with wood, then the paste form is a better choice. You do not have to mix it, and the product comes ready to use. Plus, you only purchase what you need and no more which can save you money.
So, if you have some small holes that need to be filled on a single project, then purchase a small amount.
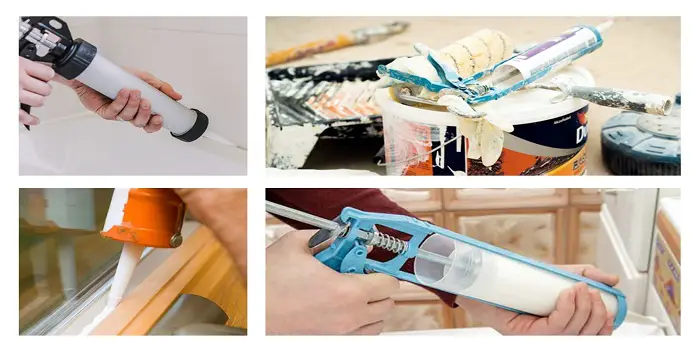
10- How is the filler Packaged?
This is the least consideration for purchasing wood filler, but it is still important. In most cases, the filler comes in a tube, tub, or stick. The differences between them are important enough to consider.
- Stick: In this form, you break off a small amount and rub it into the hole or void by hand.
- Tube: Just like toothpaste, you squeeze out the filler from the end of the tube.
- Tub: There are two types of tub-packaged filler. The first is the type that you open and is ready to use and the second is the type has two parts that need to be mixed together first, like epoxy.
The tub-based filler is the cheapest and the two-part types can be stored for some time before drying out. Sticks are quite affordable but arguably not as handy to use as tubes which are the most common.
Hopefully, now you should have sufficient information to make the best-informed decision about which type of wood filler product to use. Although different brands may have different qualities, wood filler products are roughly the same for the most part.

Does Wood Hardener Fix and Stop Termite Damage and Rot in Wood?
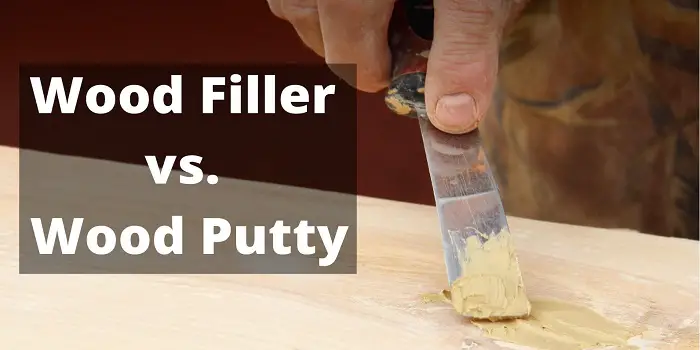
Unlike wood filler which primarily serves to fill cracks, holes, and surface imperfections, wood hardener is designed to penetrate and reinforce weakened wood fibers. It doesn’t fill gaps or restore missing wood but rather soaks into soft or rotted areas and solidifies them, preventing further decay.
Applying several layers of wood hardener makes the wood super strong, which will make it hard for termites to eat through and make holes.
Not only does it help in keeping away the wood borer insects, but also it kills all the fungus and prevents further rotting.
Wood hardeners are generally made of acrylic resin that is dissolved in a kind of solvent that pushes the resin deep into the wood to bind the fibers of damaged wood together.
Once the applied solvent is dried it turns the wood piece into a tough, strong, stable piece of wood that is more resilient to damage.
Here are a few things you need to keep in mind while applying this product…
- Do not apply the wood hardener to wet wood.
- Depending on the type of wood structure and the consistency of the liquid, you can apply the hardener using a brush or sprayer.
- Most liquid hardeners will seal out moisture, but it’s recommended that you use primers or varnishes to prevent your wood from absorbing moisture.
- These solvents can be highly toxic; hence wearing protective clothing (like rubber gloves and face masks) is recommended during the application process.
Related Questions
What wood do termites eat?
Most home-invading termites prefer to eat wood with high moisture content.
Subterranean termites are, however, not very picky when they attack your hardwood floors, furniture, and other structural framings in the home. This means they can eat through most woods (like pine, oak, particleboard, dry wood, poplar wood, and sheetrock) that can be found in homes.
If you are trying to repair these types of damaged wood in your home, you can use the wood fillers mentioned above before refinishing, painting, and varnishing.
What type of wood termites doesn’t eat?
Keep in mind that no wood is completely termite-proof. However, there are a few types of wood that termites don’t like to attack. These include Pressure-treated wood (treated with chemicals and preservatives).
In addition, naturally resistant wood varieties such as redwood, cypress, cedar, and bamboo are less appealing to termites because of their inherent oils and dense grain structure. Cement-bonded oriented strand board (OSB) and painted or sealed wood also offer some level of protection, as the coatings act as a physical and chemical barrier.
While these materials may reduce the risk, regular inspection and proper maintenance are still essential to protect wood structures from termite damage over time.
Can I make and use a homemade wood filler for termite damage?
Making and using your own wood filler for repairing termite-damaged wood is easy as well as affordable.
In a pinch, if you run out of commercial wood fillers while working on your project, you can quickly whip and make some DIY wood filler in less than ten minutes. All you will need is a piece of old wood (for making sawdust), wood glue, and a craft stick for stirring and making a thick paste.
When making and using a DIY wood filler, keep in mind these important things:
- Do not use too much wood glue as it can make the mixture runny
- If possible, use the same wood variety (to make the sawdust) as it’s on the surface you want to repair.
- DIY wood filler will not match the wood grains you may have on the surface. But if you can find and use white wood glue, you can match the color closely.
- DIY wood filler will work well for filling small holes (like created by insects, nails, or screws) or scratches. But it may not be strong enough to repair large holes, cracks, or gouges in the wood.
- Homemade wood fillers can dry out soon if left unused in the container for weeks. So, if you want to use it again within a couple of days, add a little water into the container and keep it air-tight.
Final Thoughts
Termites, carpenter ants, carpenter bees, and many other small insects can be damaging to wood furniture.
Killing and removing them at an early stage can be easy if you use wood filler, hardener, or epoxies that can patch up your wood fast. However, ignoring the condition can be very challenging when you have to deal with a vast decayed area due to these wood-eating insects.
Be aware that replacing the complete wood (or a piece of furniture) can be even more painful, especially if it’s your favorite vintage furniture piece.
Share the post "What’s the Best Filler to Repair Termite Damaged Wood?"
One thing which I have learned so far in my career is that people do make mistakes while renovating their Read more
Acrylic latex caulk (also called painter's caulk) is a general-purpose household compound that is inexpensive to buy and used for Read more
As a professional painter, I have used painter’s putty for my entire career. The easy application and smooth finish make Read more
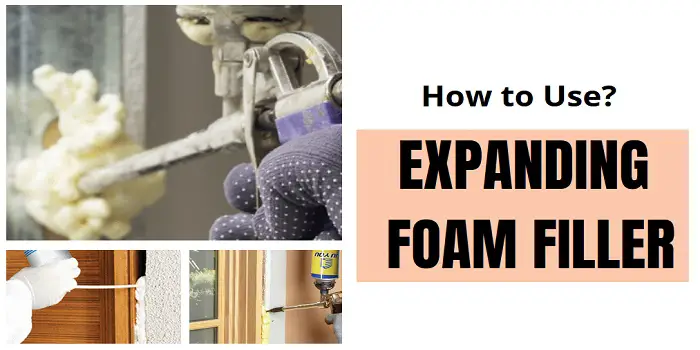
Expanding foam filler is a type of polyurethane foam for those who create, fix, or restore items in a DIIY Read more

Douglas Becker (aka Painter Doug) has over twenty years of experience as a painter in Adkins, Texas. At present, he resides in Florida with his family.
From painting multi-storeyed houses, condos, and apartments to large commercial buildings and small offices, he had served various customers in areas not only in Adkins but also in Southwest Florida, Sarasota, Naples, and many more. To know more about him check here.