
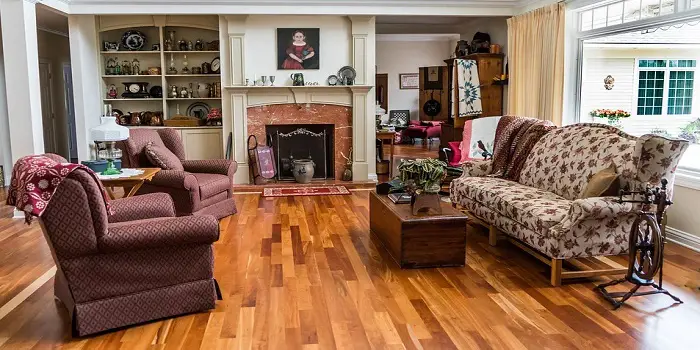
Concrete houses appear more durable and stronger, but timber-made or timber & concrete fusion house designs are making a stance on modern architecture.
Houses made of timbers are versatile and much softer to the eye.
But this does not mean it is less resilient and less durable than all-concrete-made houses.
While installing and getting the timber floor painted, it’s however important that you be careful and stringent in choosing the right type and quality of timber to use.
What's Here in the Article:
Different Types of Timber Flooring
According to experts, there is a wide range of options to consider for your flooring project.
Before you plan to install and get them painted, you should check these timber types along with their advantages and disadvantages.
1- Hardwood
Hardwood is commonly considered one of the most durable and in-demand types of timber for flooring.
Every board is made of a single piece of wood, which means every single board could have knots and markings that would show its real character.
Pros:
Has fantastic looks and feels, can sand down to restore the finish, and is durable
Cons:
It can be pricey over other wood products, expands in damp conditions while shrinks in dry ones and can be hard to fit compared to laminate
2- Softwood
Softwood or softwood flooring offers a warm, rustic look for any interior room; however generally softer compared to hardwood.
Uses for softwood are varied as most timbers come from softwood; more pliable and easier to work with.
Pros:
Can sand down to restore the finish, similar to hardwood in looks and feels but costs cheaper
Cons:
Due to the rapid growth and maturation of the wood from trees, this flooring material is often less dense and less durable.
3- Laminate
Laminate is one of the most affordable options to get a real wood look for interior flooring projects but is technically not timber.
Pros:
Cheap and easy to install
Cons:
It can be easily damaged by moisture and difficult to repair
4- Engineered wood
Engineered wood flooring has the benefits of fitting laminate flooring, which is thick and has the quality of real timber.
This type is composed of three or four layers of wood stuck together, resulting in to end product that is about 14mm.
Pros:
It is budget-friendly and can be installed easily compared to hard, soft, and laminate.
Has a wide variety of colors and textures to choose from, is sanded to restore the finish, and copes well with moisture
Cons:
It’s susceptible to scratches, dents, and fading.
These are also not moisture-proof, can be high at maintenance, and requires frequent painting.
How to Paint a Timber Floor? (6 Easy Steps)
No matter you are hiring a professional painter or going the DIY route, preparing the surface well before painting is the key to success.
This means that before you wear your pants and jump in with painting the hardwood floors, you will need to do a bit of prepping work to get the job done right.
This mainly requires filling up the nails, sanding the surface, cleaning, and then painting.
So, let’s start with the very first step…
Step 1. Sand the Timber Floor
Check for any nail heads that may be protruding from the floor.
If you find few, fix them up with a hammer and nail punch
Next, sand the floor lightly using 120 or 150-grit sandpaper.
You can use a sanding sponge, manual sander block, or an orbital sander, depending on how large the surface area you need to make rough.
Do not sand too hard, as your aim is to just remove the gloss, wax, or glue residue from the previously finished old wood.
If sanding the surface with an orbital sander, also make sure that you get as close to the wall as possible.
This will allow better adhesion of primer and paint along the baseboards, skirting corners, and border of the room.
Step 2. Clean the Floor
Once you have thoroughly buffed the entire wood floor, vacuum the floors.
While using a vacuum cleaner, collect all the sanded dust that has accumulated on the floorboards.
Make sure to remove all the dust from the corners as well.
Now, using a damp-mop, damp cloth, or a rag, remove any fine dust that has been left behind.
If you notice any old dried glue or caulking sticking on the floor, use some mineral spirits to clean them off.
After the thorough clean-up, allow the floor to dry completely for about half an hour.
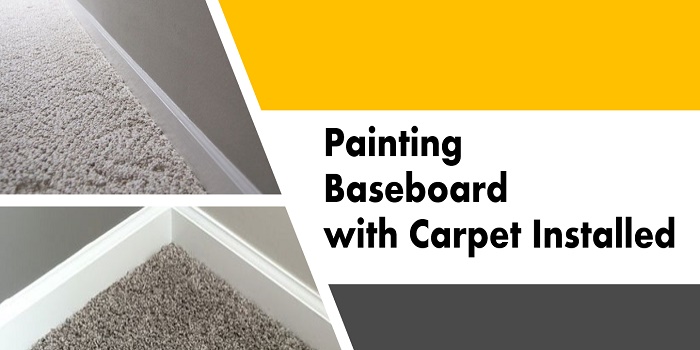
Step 3. Put Up the Masking Tape
Masking off the skirting boards and door frames in your room is important to protect from the paint due to the flicking off the paintbrush or roller.
You can cover the areas; you don’t intend to get paint on with some old newspapers and painter’s masking tape.
A good blue painter’s masking tape will be easier to remove and will not damage the surfaces underneath.
Step 4: Paint the Floor
The key to getting the right finish is applying the floor paint in two coats.
For applying the first coat, start by cutting the edges using a fine bristle brush.
If you want, you can use a roller.
While a bristle brush will give you a much smoother finish, a roller tends to get the job done faster.
Now work towards the door to paint the complete wood floor surface and allow 24-36 hours to dry.
After the first coat, lightly sand the floor with 220-grit sandpaper to reveal the fine grains.
Clear the dust, and then apply the second thin coat of floor paint in the same way.
Depending on the condition of the wood floor and the type of paint you are using, you may require applying an extra third coat.
Step 5: Decorative Touch and Sealer (Optional)
Adding a few stripes, motifs, or any other designs to the wood floor makes your floor look decorative.
While it is not essential, you can also consider adding a coat of clear polyurethane to your finished floors.
Sealing the timber floor with polyurethane can be highly beneficial, especially in high-traffic areas.
Step 6: Allow Time for Paint to Cure
Having completed all the above steps, your hardwood floor should be ready to walk gently within 2-3 days.
While you can walk freely on the freshly painted floor within a week, it may take several weeks to get the paint fully cured and the smell to fade away from the room.
Tips for Choosing the Floor Paint and Paint Color
Before painting the floor, remember that floor paints can be permanent.
Since these paints tend to soak up deep into the wood’s grains, it will be very difficult to undo the painted floors.
This also means that you should choose the right kind of paint and paint colors for your timber floors before you begin painting.
Oil-based enamel paint that is specially designed for hardwood floors will be the ideal choice for most cases.
These are the paints that will be able to resist the wear (due to foot traffic) better than any other standard paint.
While picking the paint, you will also need to decide whether you want to get a more of a matte look or something that looks glossy.
While glossy floors look brilliant, these may likely show more scratches than paints with a matte finish.
What about the Colors?
IMO, to accent those gorgeous hardwoods (whether old or new), you will need to pick the right paint color depending on the color of the wood.
While lighter shades like whites, beiges, and light greys, work well with light-stained woods and bamboo, bold tones like purples, deep red, or chocolate browns can look tremendous with mid-range color woods like red oak and cherry.
Yellows and orange undertones can also create a warmer effect throughout the entire space, so you have no reason to avoid them for your floors.
If you want something that looks a bit cooler, you can consider light greens or light blues.
If you have darker hardwoods like walnuts, and mahoganies, be mindful and try to create a balance when choosing your color.
If you chose to paint the floors dark with dark color walls, the entire room might feel heavy.
So, it’s better to match your white or light-colored walls with lighter floor paints to make the space feel much bigger.
No matter what paint type or color you choose, consider wearing a respirator mask while painting, as this will keep you protected from the harmful fumes while painting!
Can You Whitewash Wood Floor?
White-washed wood floors are a great choice for those who want to paint the floor panels white using a cheaper alternative.
One of the best advantages of adding whitewash to your old wood flooring is it is great at covering up the imperfections without hiding the natural grain of the wood.
Plus, whitewashing will also soften the natural color of the wood.
So, it’s good to apply whitewash on the wood floors that are lighter in color.
Start by mixing white latex paint and freshwater (2:1 ratio) to make a thick whitewash for wooden floors.
Then using a brush or a roller, apply it over.
In case you want even thicker whitewash, you can use three parts paint with one part water.
Before you start, make sure to remove any previous paint or polish present on the wood using a sander.
Final Thoughts
No matter whether you have bamboo, walnut, or exotic timber hardwoods, the key to achieving a perfect paint finish is good preparation and following the right steps.
Also, choose the right paint color that matches your room while revamping your old existing wood floor.
For caring freshly painted floors, remove the scuffs as and when they occur.
And use the rugs or mats in high-traffic areas.
This way, you can easily make your wood flooring continue to last and look great for years to come.
Share the post "How to DIY Paint a Timber Floor Right?"
You can bring new life to the interior of your home just by adding a new coat of paint to Read more
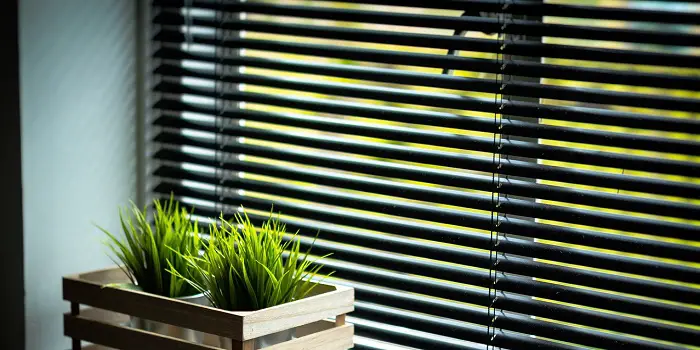
Wood blinds are highly energy-efficient and can add a lot to the warmth of your room interiors. These can also Read more
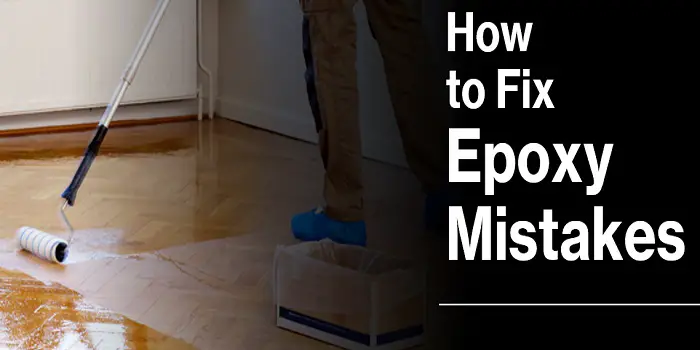
Although dealing with epoxy is not at all difficult, you are prone to make mistakes that can arise due for Read more
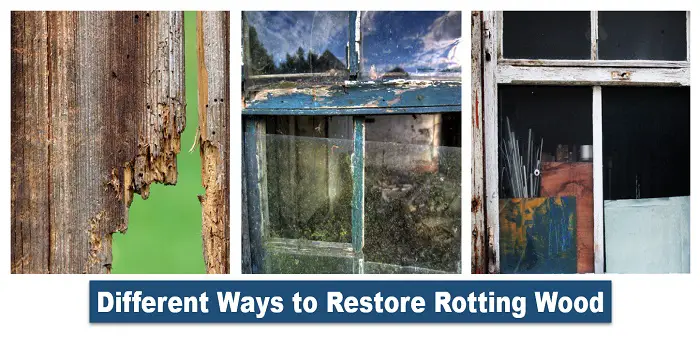
Rotten wood at home or in the yard is not an appealing sight for anyone. If your furniture, paneling, flooring, Read more

Douglas Becker (aka Painter Doug) has over twenty years of experience as a painter in Adkins, Texas. At present, he resides in Florida with his family.
From painting multi-storeyed houses, condos, and apartments to large commercial buildings and small offices, he had served various customers in areas not only in Adkins but also in Southwest Florida, Sarasota, Naples, and many more. To know more about him check here.