
Dating back to its origin in China in the 13th century, sandpaper has come a long way.
Somewhat similar to sandpapers, sanding sponges can be used to even the grit or texture of an object. And just like traditional sandpapers, a sanding sponge has different texture levels ranging from a fine to highly rough grit.
Knowing what it is, what it’s made up of, and how you should use it correctly is a key to success when you want to start with prepping your paint project.
So, without any delay, let’s start with answering the basic question…
What's Here in the Article:
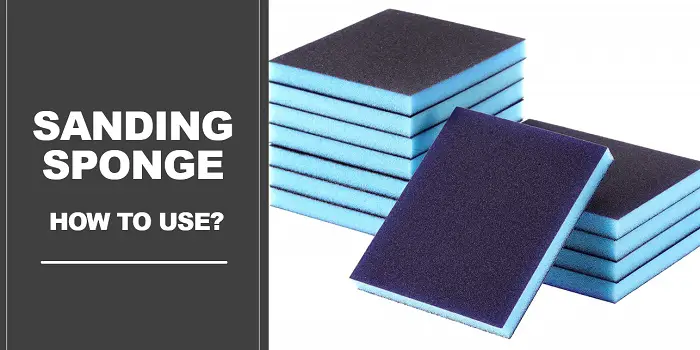
What is a Sanding Sponge?
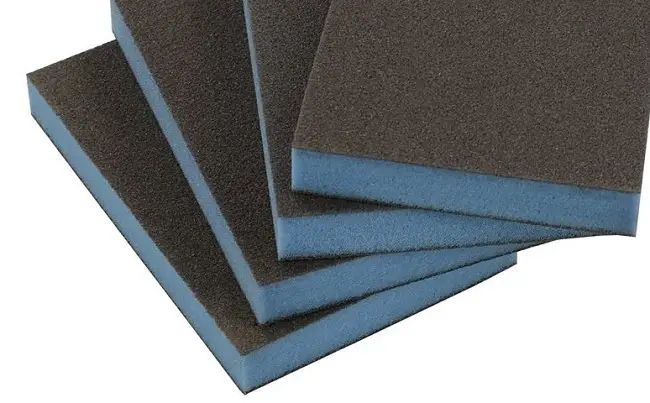
A sanding sponge is nothing but a foam block wrapped in sandpaper on all sides, including edges. Most of them come with fine grit on one side and medium grit on the other.
Even dual-grit (and dual-angle) sanding sponges are available that vary in their features. These can be used depending on the project you have on hand.
While dual grit sponges are great for larger projects that need switching between various grits, dual-angle sanding sponges are designed for projects that need sanding into tiny nooks and crannies.
These sanding sponges are particularly useful for sanding the corners, trims, and ceilings. Plus, you will find them pretty useful when working with moldings and baseboards.
You can use the block to sand flat or design surfaces while they are dry or wet.
The Popular Brands
When buying, you will come across a number of brand names. But in my opinion, the most reliable and durable material is offered by brands:
- 3m
- Gator
- Circle Brand
- Milescraft Sand-It
Some of the products come with a handle and even a self-adhesive, which makes working with them pretty convenient.
Most of these sanding sponges from a popular brand are reusable. This means that as long as you can wash them well, they can last for long. However, once the sponge loses its texture or grit, it can be disposed of.
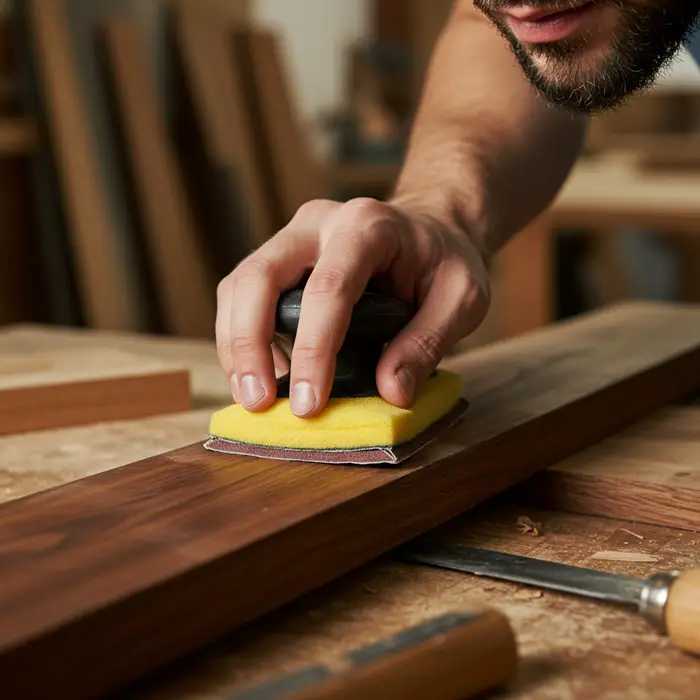
How to Use a Sanding Block Sponge?
Knowing how to use the sanding sponges correctly will help you complete your paint jobs with more precision and less time.
This will also save you the labor when working on a piece of furniture, hardwood floors, cabinets, drywall, baseboards, or any other surface.
So, when you are ready with the materials, you can start by following these steps…
Step 1 – Pick the right level.
First, you need to find out the kind of sanding block you need based on your project.
You can find out about the grit level of the sanding sponge on its packaging. Remember, the more the number, the finer the result will be.
You should not be using the extra coarse grit as this can scratch the surface. Instead, look for dry/ wet sponges which can be used on different surfaces, including drywall.
Also know that different surfaces need different grit level sanding blocks – though most of the sanding sponges work on almost all types of surfaces.
However, it is important to check the packing before buying to ensure that you have bought the right block.
Step 2 – Wear safety equipment.
Before sanding, wear a mask so that you don’t inhale any airborne particles. Also, wear eye gear and gloves, if needed.
Step 3 – Start sanding.
Once you are ready with your block, you have to sand the surface in the grain direction. Begin with a high to a medium grit and complete the procedure with a light-grit sponge.
Clean the item properly after sanding as the paint may not be able to set on a dust-coated surface.
Step 4 – Wet the block in between
If you want to lower dust and debris spread, wet the sanding sponge while using it on the joint compound. Sand in lightly on the surface to get a fine or medium look.
Scrub the item to get rid of texture and roughness from the surface. Rinse the sponge properly if it starts clogging.
Sanding Sponge Wet or Dry – Which is Better?
Dry sanding with a sponge is less common—mostly because it kicks up more dust than a desert storm and clogs faster than your kitchen sink during holiday dinner prep.
Before you put that sponge to work, it’s best to give it a little bath. Why? Well, for starters, water acts like a smooth-talking diplomat between the abrasive grit and your surface, helping it glide gracefully instead of leaving behind a trail of scratches.
Plus, wet sanding seriously cuts down on dust, keeping your workspace—and your lungs—from feeling like they’ve survived the apocalypse. And let’s not forget: wet sanding helps keep your sponge from getting all gummed up, meaning it sticks around for more than just one round.
Wet sanding is a hero in disguise for certain tasks—like smoothing drywall without turning the room into a chalky snow globe, sneaking into tight corners without making you curse your life choices, or giving a showroom-worthy finish to that fancy car or high-end furniture piece you’ve been babying.
So yeah—if you’re looking for smoother results, less mess, and a sponge that doesn’t quit on you mid-project, just add water. Your DIY game (and your lungs) will thank you.
How Do You Clean Your Sanding Sponge Pad After Use?
Cleaning the sanding sponge after usage is important, especially if you plan to reuse the piece for your next sanding project.
If not, the dirt, debris, and paint material will settle down and clog the small holes of the sponge, making it ineffective for sanding the surface again.
For cleaning, follow these steps:
- Blow air into the sponge to remove the settled, dry particles
- Using your fingers, try to remove the residual particles that remained on the surface
- Now, soak and rinse the sponge piece with warm water to remove the sticking dust particles
- If needed, you can use a bit of detergent soap solution for washing
- This will help clean the inner layers of the sponge finely
- Repeat the above process 2-3 times until you get the desired cleaning results
- Finally, squeeze the sponge to let all the water go out and dry the piece naturally in the sunlight
Reasons You Should Use Sanding Sponges for Your Project
There are several reasons why you should go for a sanding sponge vs. sandpaper when getting any paint job done in your house.
A few of them that I would like to mention are…
1- Simplicity
In comparison to the other complex power tools or sanding equipment, a sanding sponge is very easy to use.
If you have a long project in hand to complete, then working with something complicated may be annoying.
Instead of using several numbers of wires and connections or using a piece of steel wool to sand the surface, you can choose a sanding sponge and go for it simply.
2- Efficacy
The sanding sponge proves to be the most suitable option for removing plaster, paint, and dirt from any type of surface.
You aren’t restricted to using the sponge only after painting.
It can also be used after you have filled the cracks in your wall surface or drilled holes into the wall. You can even use it to wipe out dried paint stains.
The tool is recommended for all of this. So, rather than selecting a paint scraper to remove plaster or paint, go for it. Because a sponge can be used wet, you can wipe out wet paint marks easily and effectively.
3- Flexibility
In comparison to complex power tools or hand tools, the sanding sponge can work well in different situations.
As the sponge is wrapped around a foam block, you can use it either wet or dry. It helps you remove dirt stains and eradicate spackle and drywall plaster grits, depending on what you want the sponge to do.
As you can wet the sponge, you can rinse it after using it, meaning that it can be reused a number of times. This proves to be very affordable when you are working on a tight budget.
Plus, the foam in the sanding sponge permits you to be rubbed against molded wood which you can find on your stairs or doors.
The sanding block is pushed into the molding making the sandpaper get completely squeezed into the wood. It also means that you can scrub off paints from tiles and any other surface.
These reasons make sanding sponges a more effective solution in comparison to complicated power tools and hand tools.
The Conclusion
Sanding sponges are great for any paint project as they do not scratch the wood as hard as dry sanding. The good thing is if you clean/rinse the sponge to remove the dirt and residue each time you sand, you can make your piece last as long as to reuse more than once.
So, if you are getting ready to paint and want to start with prepping and sanding, sanding sponges should essentially be a part of your toolbox.
Share the post "What is a Sanding Sponge – How to Use it Correctly?"
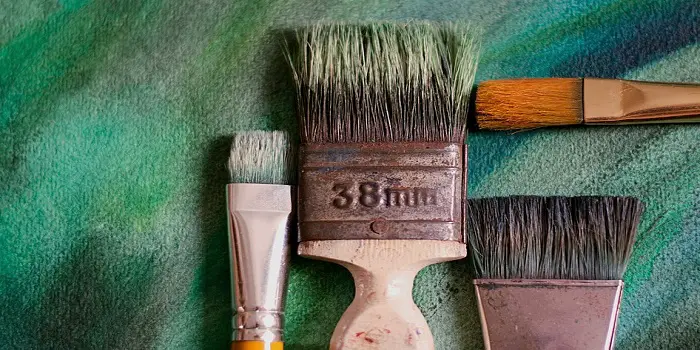
Paint brushes are valuable for any house painter. If you want to keep them for future use and preserve their Read more
Washing the paintbrushes thoroughly is an important task you should never miss - after you are done with your paint Read more

Sandpaper is the traditional tool to give wooden or metal surfaces a smooth finish. Modern versions are the same with Read more
White painter’s pants that come with built-in knee pads are my favorite. It's in fact a life savior for me. Read more

Douglas Becker (aka Painter Doug) has over twenty years of experience as a painter in Adkins, Texas. At present, he resides in Florida with his family.
From painting multi-storeyed houses, condos, and apartments to large commercial buildings and small offices, he had served various customers in areas not only in Adkins but also in Southwest Florida, Sarasota, Naples, and many more. To know more about him check here.