
Although dealing with epoxy is not at all difficult, you are prone to make mistakes that can arise due for many reasons.
Sometimes it is the design flaw; sometimes, the mixing ratio is incorrect, or sometimes the epoxy may harden unevenly.
No matter what the fault is, it can be extremely hard to fix the problem once the epoxy has hardened.
This is why you must fix them while it is still damp.
But what are these mistakes, and how should you go about fixing them before it gets too late?
Let’s know all of them and much more in the article below…
What's Here in the Article:
Common Epoxy Mistakes
Before we jump into how to fix epoxy flaws, you should know some common ones you will mostly make while working with epoxies.
Here are a few of them you should pay heed to…
a) Incorrect Mixing
The epoxies come in two kits and need to be mixed properly.
And the mixing ratio of the epoxy resin is one of the most important steps that must be strictly followed.
If you make a blunder while mixing, you will not get the desired result.
b) Not Considering the Weather
Temperature plays the most important role when you are dealing with epoxy.
This is the reason that almost all epoxies come with a temperature range that you must comply with.
If you do not take care of the temperature range, your project can fail.
c) Not Storing the Epoxy Properly
If you are not using the product, for the time being, you must store it properly.
The experts recommend that you store it at a temperature between 16° C and 21° C, failing, which will not give you the desired result that you want.
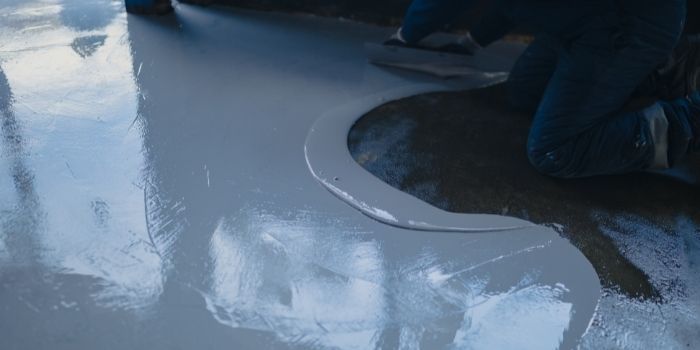
How to Fix a Rough Uneven Epoxy Finish?
If your epoxy is getting hard from uneven places, it clearly indicates that it needs to be fixed.
The uneven hardening can result in dull and tacky spots.
But the good news is that the problem can be fixed very easily.
Step 1- Wait
All you need to do is wait for the epoxy to dry out on the floor.
Allow enough time and ensure the surface is completely dry before you proceed to the next step.
Step 2- Sand
Once the epoxy is thoroughly dried, you can sand it with damp sandpaper.
Just make sure that the sandpaper is fine-grained, and you sand it lightly.
Step 3. Wipe Down Clean
Once you have grained your epoxy with fine-grained sandpaper, you need to ensure that you wipe down the surface properly.
If you do not properly wipe down the epoxy surface, sanding dust and debris will stay on it.
This can cause many more problems later.
To wipe down the surface, you will need a damp microfiber cloth.
You will also need some detergent mixed in water to get rid of unwanted oil or fats on the surface of the epoxy.
Step 4. Recoat the Epoxy Resin
Once the surface is cleaned, you need to apply a fresh covering coat of epoxy resin to the surface.
But, make sure that the coating is leveled (without any dimples) and you mix the resin enough.
Few Tips for Preventing Rough Epoxy Surfaces
It is better to be safe than sorry for the flaws.
Therefore, you must prevent uneven epoxy floor surfaces from occurring in the first place.
I have listed some useful tips for you below. So, stay tuned to know more about these tips…
1- Use the Correct Mixing Ratio
Not using the correct mixing ratio can lead to sticky spots in the cured resin.
You should always take time to go through the product details you are using and the ratio in which it should be prepared/mixed.
This may depend on the type and brand of product you are using.
2- Do Not Use Old Resin
Another common mistake that people make is using a hardener or resin that is too old.
When an old hardener or resin is used, it can also create sticky spots in the cured resin.
So, make sure that you check the hardener and resin before using them.
3- Do Not Add Too Much Heat
A lot of people use a torch to heat the epoxy and for letting the air bubbles escape.
But they do not know the fact that too much heat can be harmful as it can create ripples in the epoxy. So avoid doing that.
4- Make Sure That Your Work Area is Ventilated
When there is too much or too low humidity in the air in your work area, you can run into a lot of problems, such as glaze coat epoxy.
It is due to the reason that the air gets trapped inside the glaze coat of epoxy.
Tips for Repairing Your Epoxy Table Top or Countertop
Want to repair your epoxy countertop? There are a lot of ways to do so.
You will need to decide which method to use by looking at the state of your epoxy resin.
You can repair your epoxy resin countertop that is still damp, or that is already cured.
It is easier to repair the resin countertop that is still damp because you will then be able to smooth it easily.
Not only this, but you will also be able to flow it into the corners where the layer looks a bit thin.
It is also the best time to remove things that have fallen into the resin.
The good part is that you can even repair the countertop that has already been cured.
At times, you might also notice that your epoxy countertop needs to be repaired as there are scratches on the surface.
Remember, the scratches on your epoxy countertop can be repaired as well.
All it requires is using any specialized product to fill in the scratches on the epoxy’s surface.
Final Thoughts
Epoxy has become a popular household and commercial item to use.
Although it is common for people to make blunder mistakes while dealing with epoxy, the good news is you can avoid most of them.
No matter whether you are a professional or a beginner, all you need is to work patiently and follow the tips/steps mentioned above carefully.
These will hopefully help you to avoid the bad epoxy job.
Share the post "How to Fix the Most Common Epoxy Mistakes?"
You can bring new life to the interior of your home just by adding a new coat of paint to Read more
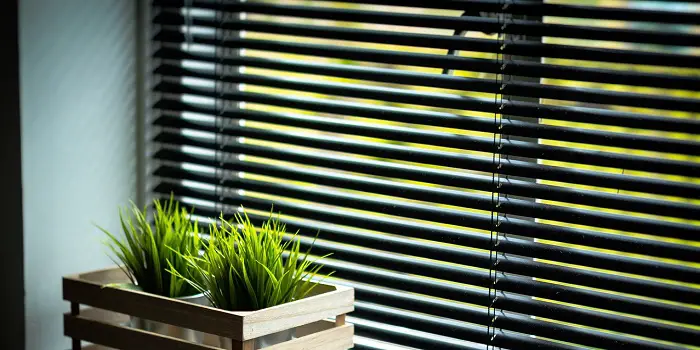
Wood blinds are highly energy-efficient and can add a lot to the warmth of your room interiors. These can also Read more
Concrete houses appear more durable and stronger, but timber-made or timber & concrete fusion house designs are making a stance Read more
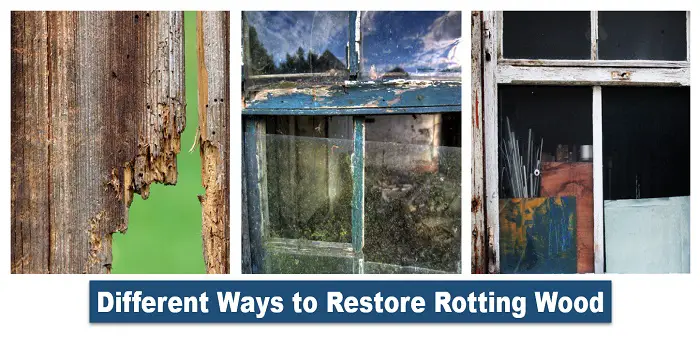
Rotten wood at home or in the yard is not an appealing sight for anyone. If your furniture, paneling, flooring, Read more

Douglas Becker (aka Painter Doug) has over twenty years of experience as a painter in Adkins, Texas. At present, he resides in Florida with his family.
From painting multi-storeyed houses, condos, and apartments to large commercial buildings and small offices, he had served various customers in areas not only in Adkins but also in Southwest Florida, Sarasota, Naples, and many more. To know more about him check here.