
As a professional painter, I have used painter’s putty for my entire career.
The easy application and smooth finish make it just as important as the paint I use.
Using painter’s putty for my projects also helped me establish a strong reputation for being a reliable painter, which is why I love to share this information with you.
This will include the painter’s putty, how it can be used, and how it is compared to spackle. Hopefully, this will help you paint and refinish your own home with a professional touch.
What is Painter’s Putty?
Simply put, the painter’s putty is a chemical-based powder that becomes a composite when combined with water.
The compound becomes a putty that can be used to fill cracks, holes, and other imperfections on otherwise smooth surfaces. It works especially well on concrete and cement, although it can be used effectively on drywall as well.
There are a few advantages as well as disadvantages of wall putty that you need to keep in mind before using it. These are:
Pros:
- cement-based material
- provides smoother finish
- enhances the lifespan of wall paint
- improves the tensile strength of the wall
- moisture resistant and doesn’t flake easily
Cons:
- cannot be reused once hardened
- requires skill to get the desired finish
- cannot be mixed with a hand and requires a stirrer
What Can You Use It For?
Painter’s putty, such as Crawford’s, is generally used before painting to fill any nail holes that you do not want to appear. It’s like an all-around product that can be used for filling in all kinds of imperfections to create a smooth surface (such as cement, concrete, drywall, and even wood) for painting projects.
By filling the small gaps, cracks, and other imperfections, the putty creates a smooth surface where you can apply the paint. The result is that the putty fills in the areas that otherwise would create a rough, unsightly surface that ruins an otherwise fine paint job.
While the putty itself will almost certainly be a different color than the rest of the surface when applied, the paint you use will cover the putty and the rest of the surface so that it matches.
How to Use Painter’s Putty Correctly?
Since painter’s putty is relatively easy to use, many people mix up a batch or use the instant version to get started.
However, for the best results, there are a few things you need to know before getting started. I wish I had this advice when I began my career as a painter.
Things You Will Need
Before getting started with the putty, you will need the following items.
- Painter’s Putty: A strong, reputable brand is preferable
- Putty Knife
- Painter’s Tape
- Sandpaper
- Brush & Damp Sponge
- Protective Gear: Including mask, glasses, and gloves
Once you have all the materials, you are ready to get started.
Step 1. Pre-Treat the Surface
Before you can apply the putty, you will need to pre-treat the surface by sanding.
You can sand by hand or use a sanding machine, but you need to sand from the top to the bottom of the surface.
This removes rough areas and bumps, but it also takes away old paint and primer so that the new paint will stick directly to the surface.
Next, clean the wall using a damp sponge that has a mixture of water and a little soap or detergent. This will help clear away the dust, dirt, and stains from the wall.
Be sure to wear your protective material as cleaning may loosen any bacteria along with dust from the surface.
Once you have cleaned the wall with the soap and water mixture, clean it again with just clean water alone and let it dry.
Now, you are ready to cover the areas on the surface that you cannot remove.
This is where the painter’s tape comes in, as it is strong enough to cover such areas but can be easily removed once you are through painting. Such areas include the following.
- Doors
- Sockets
- Pegs
- Trim & More
Once everything that you do not want to be painted is covered, you are ready for the painter’s putty.
Step 2. Mix the Putty
Start to mix the putty compound with water.
In most cases, you should mix the one-part chemical compound with two parts of water. However, the instructions on your brand of painter’s putty may be different.
Always use the specific instructions found on the package of your painter’s putty for the proper mixture.
One trick I learned was to add the water to the bucket first, then add the chemicals that make up the putty. Then, use a stick to stir the mixture together until you get the right consistency.
This means mixing until all the bubbles, lumps, and bumps are gone. Once the mixture is smooth, you will need to use it within the next two hours.
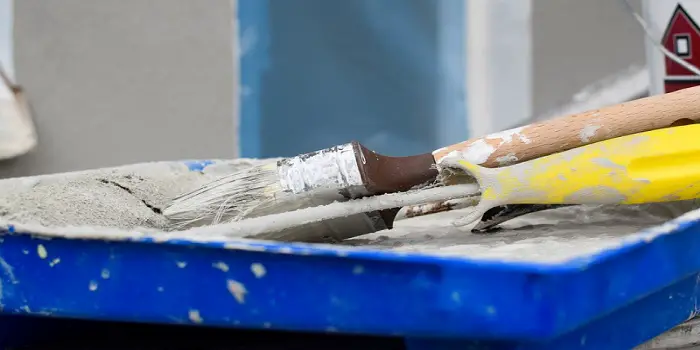
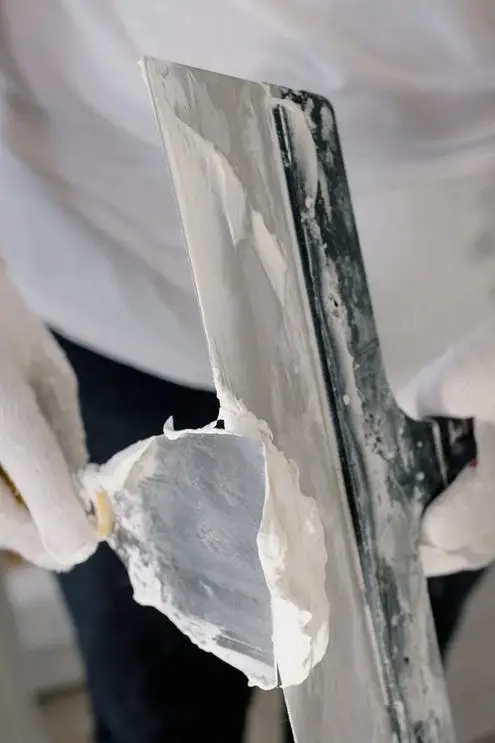
Step 3. Apply the Putty
With the putty mixture ready, you will need the putty knife for application.
Place enough putty on the knife to fill in any crack, hole, or imperfection. If you put too much on the knife, it will spill.
It will take a little work to get enough on the knife, but after a few tries, you can do it easily. Just remember to scrape any excess back into the bucket.
With the putty on the knife, start at the top of the crack, nail hole, or imperfection and wipe down, so the putty fills the area. Any small excess can be scraped off the surface with the knife on the pass.
Once you have filled all the holes, let the putty dry for around five hours before painting, give or take an hour, depending on what the instructions say.
Step 4. Sand & Wash Again
Once the putty has fully dried, you should use sandpaper to get rid of any contaminants that may be sticking to the surface.
Rub lightly because you do not want to mess up the putty.
Once you have sanded the surface again, wash it with clean water using a damp sponge. Let it dry, and now the surface is ready for the primer and paint.
Tips when Working with Painter’s Putty
What follows are a couple of tips that I’ve learned when using painter’s putty. These tips may serve you well if you intend to paint over time.
a) Apply Two Coats:
Most professional painters would apply at least two coats of wall putty before they paint the surface.
Just like them, you should apply the first coat to ensure that you apply putty to all the holes and imperfections well.
And with the second coat, you will ensure that the surface that has been coated is well aligned with the wall you will be painting on.
b) Use Primer:
If you only use paint on the wall and not any primer, then the areas where the putty is used may show through.
Primer tends to cover the putty quite well, so it is impossible to tell where it has been used. Otherwise, you may find that you have to use additional coats of paint to cover the areas with the putty.
c) Soften the Putty:
Most likely, you will have some putty leftover that will dry up unless you do the following.
Pour the putty out of the bucket and place it in a can or container that has a lid or can be covered.
If the putty itself has dried, you can pour additional water into the bucket to make it soft again. Then place the mixture on a tray and cover it with a rag or fabric that will not be used for anything else.
Roll it out on the surface with the rag until the putty becomes usable again. Then, you can either use it for another project or keep it inside a protective can or container.
Most putty will be reusable for up to two years, so if you have additional projects coming up, you can use the remaining putty.
In addition, if you still have a putty compound that has yet to be mixed, keep it in the original container and cover it. Because it is still in powder form, it should be good enough to use at a later time.
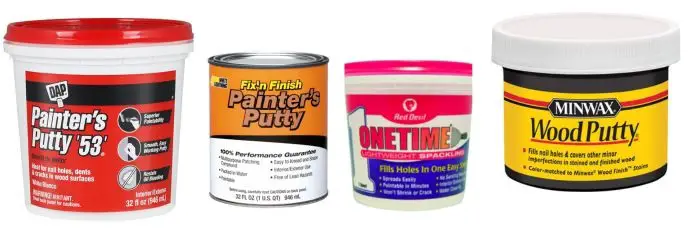
Who Makes the Best Putty on the Market?
Although there are tons of brands manufacturing, some of my favorite picks include…
- Minwax Putty
- DAP Painters Putty 53
- Red Devil ONETIME Spackling
I have recently used Painters Putty 53 made by DAP on the old trims for filling the nail holes. And it worked very well.
Remember that there are two varieties available, i.e., DAP 33 and DAP 53. The key difference between the two is that the 53 dries out faster, but the 33 can be sticky.
When purchasing, you should look for the material you will be using. Also, check the factors like:
- Cleaning ability
- Premixed or not
- Ease of application
- Natural look and color
- The time it takes to dry
- Hardening vs. non-hardening
- Whether paintable and stainable or not
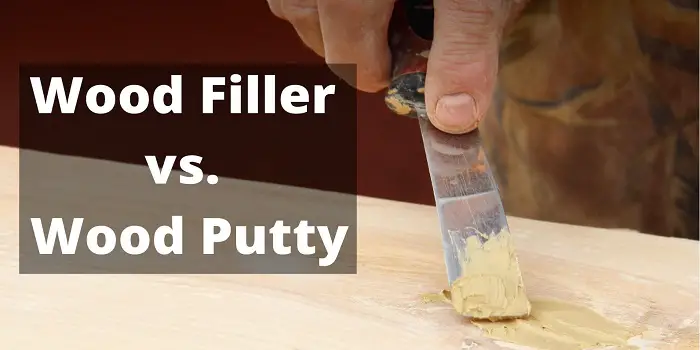
Is Painter’s Putty and Spackle Same or Different?
If you think that painter’s putty is the same as spackle, you are not alone.
Both are used to fill in gaps, cracks, and other imperfections on surfaces. In addition, both products are ready-to-use and portable, so you can carry them around the home or the job site as needed.
When comparing putty vs. spackle, there are differences in the chemical composition of each product which does make for important differences. The most important difference is that painter’s putty is designed for surfaces that are about to be painted. While spackle is a product that can be used even without painting.
In fact, it is recommended that you apply the primer coat first and then spackle the imperfection so the chemicals in the product can stick better to the surface.
So, Which One is Better for Your Project?
- In simple terms, if you are going to paint a surface, then the painter’s putty is the one to choose.
- Spackle can be used on surfaces where you are not planning to paint as the product’s chemicals work well on most materials.
Keep in mind that although primers and putties are both applied on the paintable surface before applying the final paint, these two compounds are also very different from each other.
While putty is a kind of paste applied to fill minor cracks and dents to level wall surface, primer is a specialized coat applied to the surface (like wall, metal, plastic, etc.) to make the paint adhere better.
Putty is also different from POP (a fine gypsum-based powder) which is usually used to make ornamental elements and decorative designs on the wall or ceiling.
Final Thoughts
Over the years, I have used countless amounts of painter’s putty.
It has become second nature to my job to mix, apply, and paint over the putty to create a smooth, professional finish.
You can achieve the same results when you apply the putty in the right way. Just make sure you choose the right product and use the right tools for application.
Share the post "How to Use Painter’s Putty before Painting Walls and Wood?"
One thing which I have learned so far in my career is that people do make mistakes while renovating their Read more
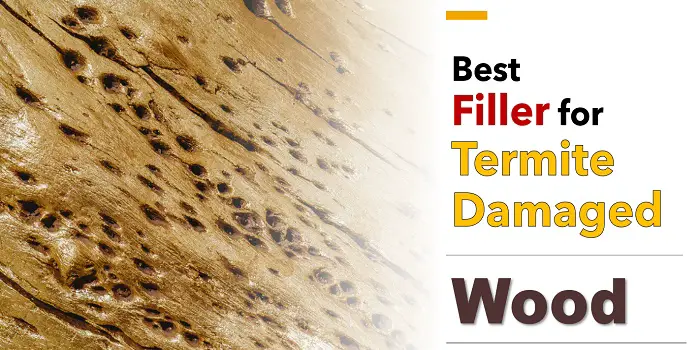
Termites are a real nuisance when they attack your place. They have the potential to destroy your entire home furniture Read more
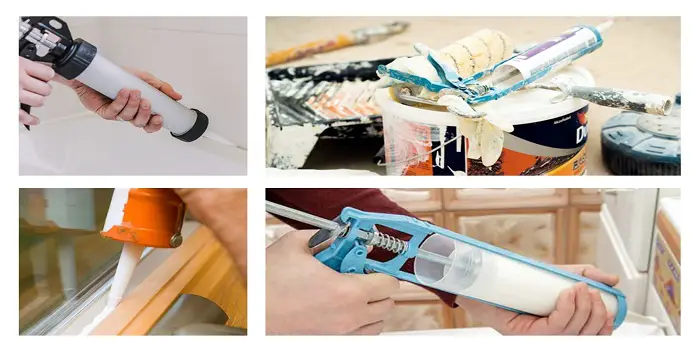
Acrylic latex caulk (also called painter's caulk) is a general-purpose household compound that is inexpensive to buy and used for Read more
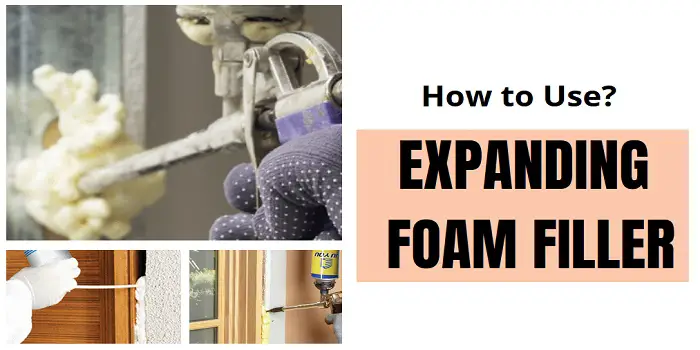
Expanding foam filler is a type of polyurethane foam for those who create, fix, or restore items in a DIIY Read more

Douglas Becker (aka Painter Doug) has over twenty years of experience as a painter in Adkins, Texas. At present, he resides in Florida with his family.
From painting multi-storeyed houses, condos, and apartments to large commercial buildings and small offices, he had served various customers in areas not only in Adkins but also in Southwest Florida, Sarasota, Naples, and many more. To know more about him check here.