
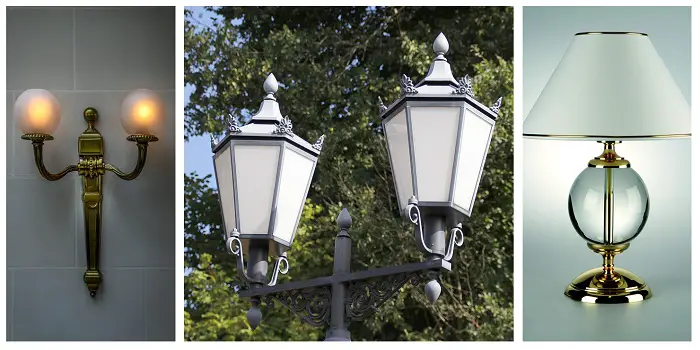
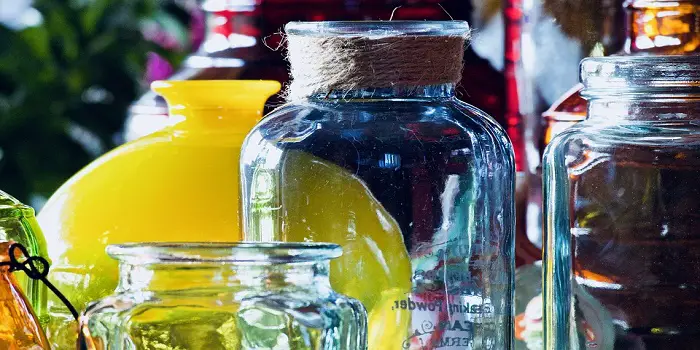
Frosted glass is a semi-transparent glass that is sandblasted to make it look opaquer.
Compared to clear lamps, it is often used on lamp shades and fixtures to lower the light and diffuse it more uniformly.
The good thing is you can use it much like a transparent glass if you want to paint a design on it or change its color for a newer, better feel.
However, the thing to remember here is the frosted look; it offers you different results compared to clear glass.
Plus, it also works to enhance the unique look of your lamp shade based on the type of paint you will choose to apply.
In general, three types of paints can be used on frosted glass light fixtures. These include:
- Solvent-based paints
- Acrylic enamel paints
- Acrylics designed specifically for glass or tiles
It’s good to choose heat-resistant paint for light fixtures so that it does not peel away fast and can withstand high temperatures.
I have recently tried, especially formulated, Krylon Frosted Glass spray paint for my project, and it worked great.
Other brands like Rust-Oleum, Martha Stewart, and a few others manufacture paints for frosted glass.
If you want, you can try them instead.
These frosted glass spray paints can also be used on surfaces like plastic, mirrors, and ceramic.
Plus, most of these aren’t permanent and can be removed from your light globes and fixtures with paint strippers (DIY or chemical-based) whenever you need them.
What's Here in the Article:
How to Paint a Frosted Glass Lamp Fixture?
Painting over frosted glass light fixtures isn’t very tough if you are using the right paint materials and techniques.
Here are a few easy steps you will need to follow.
Hopefully, these will make your task easy, safe, and fast.
Step 1. Clean
As a first step, you will need to clean the lampshade/fixture to wipe out any dirt, grime, or grease accumulated over it.
This step is essential as the paint will not stick properly if any areas of the lampshade are greasy.
For cleaning, you can use warm soapy water and then a lint-free towel to wipe and dry the lamp completely.
Step 2. Paint the lamp fixture
Squirt some paint on a plate and start painting your frosted lamp with a solid color.
A 1-inch-wide flat paintbrush is a good option to paint the frosted glass on your lampshade.
If you are spraying using aerosol sprayer paint, make sure you paint in one direction, overlapping every stroke.
Do not overwork on an area as the paint will dry very quickly.
If you want additional coats, allow the first coat to dry and then go for a second coat of the same shade.
Step 3. Add texture and mottled finish
Many people prefer mottled painting over lampshades that will mimic the appearance of leather or parchment.
If you desire to get the same, you will need to select two or more paint shades.
Squirt the two paints on two different paper plates.
Wet a sea sponge with water and squeeze it completely to let the water out.
Dip one corner of the sponge in the paint color and then blot the paint on a cleaner part of the paper plate.
Dab your lamp shade gently with different patches on almost half of the surface.
Wet new sea sponge and cover the uncovered areas with 2nd paint color just as the first one.
Use the new paint while the first shade is still wet to create a soft blending overall look.
In order to get a more intense look, let the paint color dry before using a new paint color.
Step 4. Add some impressive stencil designs
Using painter’s tape, set the stencil on your lamp fixture.
Squeeze some paint on the paper plate.
Dip the tip of the stencil brush in the paint and swirl around to uniformly spread the paint on the stencil design.
Rub the stencil brush on a cleaner side of a paper plate to get rid of some paint.
Now move the paint in a circular motion to put paint in the stencil openings.
And take off the stencil immediately.
If you want to use the stencil on any other area of the lamp shade, clean it from the back and front.
And repeat as above.
Also, if using more than one color for stenciling, make sure that the previous glass paint has dried before you apply the new one.
If required, you can speed the drying time with the help of a hairdryer.
Additional Tips
Before you use a stencil or a sea sponge on your lamp shades or fixtures, practice your design on a piece of paper.
This will also allow you to check the color as it will be appearing on your lamps.
While painting application, make sure you work in a well-ventilated room or better outdoor in your backyard.
You should also consider cleaning up the brushes as soon as you are done to avoid the paint from drying on them.
This way, you can use the same tools again in the future just in case you need to revamp your ugly light fixtures.
Share the post "What Kind of Paint to Use on Frosted Glass Light Fixture?"
When working on a paint project, it is the materials you choose/use which determine its success and validity. This sentence Read more
Storage heaters and radiators aren’t popular anymore as they used to be. I have one old piece installed in my Read more
The purpose of a primer is to provide a surface sticky enough for the paint to adhere properly. The paint Read more
There are many similarities between latex and enamel-based paints. Being used on interior and exterior surfaces, they come in a Read more

Douglas Becker (aka Painter Doug) has over twenty years of experience as a painter in Adkins, Texas. At present, he resides in Florida with his family.
From painting multi-storeyed houses, condos, and apartments to large commercial buildings and small offices, he had served various customers in areas not only in Adkins but also in Southwest Florida, Sarasota, Naples, and many more. To know more about him check here.