
When you think of a home improvement, you most likely think of remodeling your kitchen or your living room.
You probably didn’t think about your bathroom.
And that’s just strange since you spend so much time in that room in your life; you might as well make it look better.
Plus, your guest will always compliment a nice bathroom.
So maybe I have convinced you, or better yet, you were intent on improving your bathroom in some meaningful way.
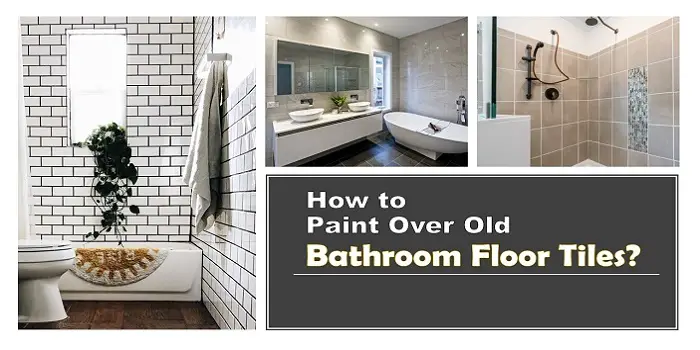
I personally believe that the easiest and most impactful way to improve your bathroom relatively cheaply is to repaint your old floor tiles.
What's Here in the Article:
7 Steps to Paint Floor Tiles in Bathroom
If you are anything like me, I have the super-dated red-ceramic tiles in my bathroom, which have seen better days.
So, in this article, we will go in-depth about how I fixed up my tile and how you can do the same.
Let’s breathe some new life into our bathroom with repainting!
Step 1: Sand the Floor Tiles
Before we even begin, I hope you will clean your bathroom in general.
Remove any old clothes or anything on the ground.
We will want a nice and clean working area for our project.
A simple little sweep and a once-over to pick up any larger debris will be a good start.
So, let’s call that step 0; here is step 1.
In this step, we will now want to sand down the tiles.
This will remove any of the scuffs and debris you couldn’t sweep up, and it will create a better surface for the primer to stick onto.
Sanding is also important to get the old paint off floor tiles before you repaint the surface fresh.
If you didn’t know, primer and paint, for that matter, would do a much better job sticking to the surface if it is rough, so sanding does this job perfectly.
You can do this by hand, but I can only recommend that if it is a small amount of surface area, you plan on sanding.
Using an electric sander can save you much time and effort, so if you have one or can borrow one from a friend, I highly recommend it.
So, then you just sand all of your tiles to get any of the gunk off and to rough up the surface.
Like any sanding job, begin with a low grit, around 80, and step your way up to 120 grit and once again to 240 grit.
You don’t have to have these exact sandpapers, but this should give you a general idea of the increase you will want to use.
Step 2: Deep Clean the Floor
So now, we have to deep clean our tiles.
I recommend using a vacuum to suck up all the dust but if that isn’t an option, make sure you sweep as well as you can.
This job is going to require more than a simple sweep-through. We will want to CLEAN this floor with some special chemicals.
You can go out and buy some specific tile floor cleaner from a hardware store or online, but this can be a little pricey for a cleaner you will use once.
In my opinion, using a generic multi-use floor cleaner solution (like soap, water, vinegar, etc.) will also work just fine.
Whichever option you choose, just follow the direction of the cleaner and use it.
After that, I cleaned my tile with a scrub and some warm water to make sure I didn’t miss any spots.
This may sound excessive, but any dirty spot that you leave will break through your paint, and there is no saving it besides starting the process again.
Step 3: Last Minute Touch-Ups and Repairs
This may be a very time-consuming step for some floors and may not apply to other floors.
Depending on the condition of your tile floor, you may or may not want to fix it up a bit.
I had a few tiles that were cracked and some completely destroyed, in my opinion.
On the tiles that I deemed as destroyed, I dug them out to completely replace them.
As I have no expectation of ever-changing this floor, I want to make sure it looks good now.
On the slightly cracked ones, I simply caulked them back in place.
Finally, I made sure that all the grout was in good condition.
There were a few areas where the grout was simply missing or damaged, but all I did was caulked in the gap to fill it in.
If you want to be more professional, you can redo the grouting; however, I simply didn’t have the time or desire to do that.
I decided caulking would be good enough for my purposes.
Step 4: Prime the Flooring Tiles Well
We briefly mentioned it before, but now it’s time to prime your tile.
The whole point of primer is to be the middleman between the surface and paint.
Paint naturally has difficulty sticking to most surfaces, but it can stick to primers.
And primers tend to be designed pretty well to be able to be used on almost any surface.
There are tons of different types of primer out in the world, but we probably will want one that is oil-based for priming bathroom tiles floor.
Each primer is a little different, so follow the instructions on the can for the application.
But if you were curious, I used a roller for most of the floor.
However, I had to go back with a smaller paintbrush to do touch-ups on the edges of the floor and the grout lines in between the tiles.
We want to make sure we cover everything!
It’s pretty simple, and the only way you could mess this up is by painting yourself in a corner, make sure you have a way out!
Step 5: Finally, Paint Your Tiles
So now it is finally time to paint the tiled floor and guess what you have to do?
Exactly the same thing as how you primed it.
Use a roller for most of it, but you will have to come back with a paintbrush to get the gaps and the edges.
Generally, just follow the instructions on the paint can.
You may apply two to three coats, depending on your bathroom floor tile, your paint, and what you want.
What paint to use?
Like primers, there are a lot of paint options that you can choose for the tiled floors in your bathroom.
When picking the paint for the ceramic-tiled floor in the bathroom, keep in mind that you cannot use just any kind of water-based paint.
For most parts, you will need heavy-duty paint, like epoxy paint that is anti-bacterial as well as water-resistant.
You may also get some sort of exterior floor, deck, or patio paint. This kind of paint is usually designed to withstand more wear and tear.
Plus, as patios sometimes get wet, this type of paint is resistant to water, which is especially important in bathrooms.
Step 6: Seal your Bathroom Floor (Optional)
Sealing your shower tiles and floors is a completely optional step that you may want to consider.
A sealer such as polyurethane will make your new floor more durable and last longer in general.
However, as we used a nice primer and patio paint, the floor should be as durable as you would ever need.
The only downside with sealing is the fact it takes a little time to apply another layer of paint, and that if your sealant gets scuffed, it is a little tricky to fix.
Although you can just go over it again with more sealer, that is much like putting a bandage on a broken bandage, a little silly.
Plus, if you do this multiple times, your floors won’t be as pretty as they may be.
For my project, I’m not sealing it as this bathroom doesn’t get the most use, and I don’t want to deal with sealant repairs.
But if you think you can benefit, by all means, go for it!
Step 7: Finishing Up
Although we labeled this step as “Finishing Up,” you are all done!
All we have to say is to let it dry completely. Like completely!
We just applied a ton of liquid onto your floors, so it may take a long time for it to completely set into its final form.
Like a few days to a couple of weeks, depending on your local environment.
So, within this time frame, be careful with the floor as you don’t want to have to go back and fix the beautiful work you just did.
But after about a week of waiting, it’s finally done. You successfully repainted your tile floor!
I hope your floor turned out similar to mine, as I love it.
Tiled Floor Paint Pros and Cons
Bathroom tile materials range from ceramic and porcelain to quarry and natural stone (that includes various other sub-varieties such as marble, travertine, granite, limestone, and slate).
Although these come in a number of patterns and colors with endless looks, some of them may still not suit your bathroom look and style.
More importantly, they may go out of fashion with time and will need regular touch-ups to keep your space looking fresh and stylish.
While painting over old tiles can freshen up your overall bathroom aesthetics, it does come with its own set of advantages and disadvantages.
Before you plan to get your tiles painted, keep in mind these pros and cons.
Knowing these will hopefully help you make better decisions.
Pros
- Less time-consuming and cost-effective compared to re-tiling
- Adds durability to withstand regular wear and tear, much like the new store-bought tiles
- You can customize them the way you want with either light, dark or solid colors
- Can add fresh patterns (like geometric and checkerboard) to your old ugly and boring tiles
Cons
- Paint can peel away or chip, if not done correctly
- It can take weeks to get the paint to dry before you can use your bathroom
- Needs lots of designing and prep work, especially if you are considering working on a DIY project
Painting Bathroom Tiles vs. Retiling
Painting bathroom tiles is much cheaper than re-tiling the floors.
In fact, it’s a most economical and budget-friendly way to refresh your bathroom tiles, provided they are not cracked or crumbled.
If you want to work frugally and still redesign your bathroom floors, keep in mind that re-tiling isn’t an option for you.
Even if you consider DIY re-tiling and installing, the cost can go from $200 to $1,500 for a normal bathroom floor measuring 50 to 100 square feet.
The overall cost will, however, also depend on the tile material and patterns you choose.
Premium tiling materials like marble, for example, falls at the higher end of the spectrum and can cost as much as 10 to 15 times the cost of ceramic tiles.
But with painting, you can refinish the old bathroom floor tiles for as little as $100 to $150 for the same square feet area.
Related Questions
Can you paint tiles on all bathroom surfaces?
Painting tiles on all your bathroom surfaces is not feasible and will usually depend on the type of tile you have.
For example, applying paint to the most popular types (like ceramic, porcelain, and natural stone) is not very tough.
But it doesn’t work very well if you are trying to paint glazed quarry tile because the paint doesn’t bond well to these materials.
Unglazed quarry tile can still be painted with some good preparation.
How long the painted tiles in the bathroom will last will depend on the exposure to moisture.
For example, paint on bathroom floors, walls, and backsplashes can last much longer than the paint on tiled countertops, tub surrounds, or shower surfaces.
Since these surfaces are regularly in contact with water, the paint can fade or peel away much faster here.
What kind of paint to use on natural stone tiles?
If you have natural stone tiles in your bathroom, acrylic latex paint (that’s formulated for interior masonry) will work well.
But for ceramic, porcelain, and unglazed quarry tile, mildew-proof latex or epoxy paint will be more useful.
Epoxy paints can also be picked for backsplashes, countertops, tub surrounds, and shower surfaces.
These are available in either one-part (pre-mixed) or two-part (ready-to-mix) varieties.
But remember, these can be smelly and toxic, so if you are concerned about the odor, select the latex paint.
Be sure that all these paint varieties come in different sheens ranging from flat to high-gloss.
The glossier the finish you choose for tiles, the more slippery the finished surface will be.
How to clean and maintain painted tiles in the bathroom?
Painted tiles that sealed well will need minimal maintenance, provided you do the regular sweeping and mopping on time.
There are a variety of tile cleaners available in stores, or you can even make one in your home that can be tailored to the variety of tile and colors you have in your bathroom.
To keep the painted tiles from scuff marks and scratches, it’s good to use waterproof floor pads or mats made of teak or bamboo.
These floor mats will not only help the paint last longer but also add an appealing look to your bathroom.
Final Thoughts
As you can see, repainting your tile floor in the bathroom is a great way to update them without replacing them.
Plus, it isn’t that hard to do.
IMO one of the greatest advantages of painting tile floors is you can customize them as you want.
For example, you can even paint them to look like wood.
Although it may take a little time and patience, you can for sure do it within a week or a couple of days at an easy pace.
Make sure you use the right tools and paint that can easily withstand the conditions in your bathroom.
I hope that this little guide helps you with your own project and that your tile floor will be brought back to life with a simple paint coat!
Share the post "How to Paint Over Your Old Bathroom Floor Tiles?"
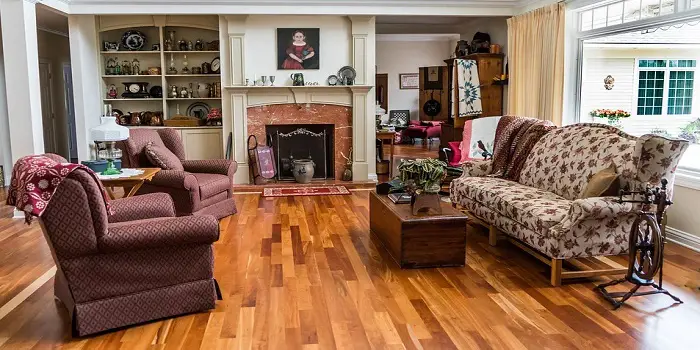
You can bring new life to the interior of your home just by adding a new coat of paint to Read more
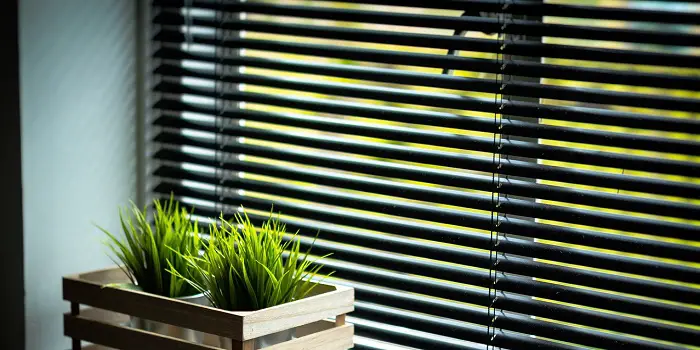
Wood blinds are highly energy-efficient and can add a lot to the warmth of your room interiors. These can also Read more
Concrete houses appear more durable and stronger, but timber-made or timber & concrete fusion house designs are making a stance Read more
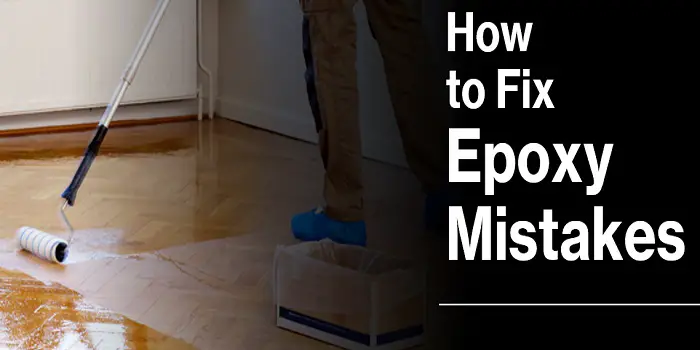
Although dealing with epoxy is not at all difficult, you are prone to make mistakes that can arise due for Read more

Douglas Becker (aka Painter Doug) has over twenty years of experience as a painter in Adkins, Texas. At present, he resides in Florida with his family.
From painting multi-storeyed houses, condos, and apartments to large commercial buildings and small offices, he had served various customers in areas not only in Adkins but also in Southwest Florida, Sarasota, Naples, and many more. To know more about him check here.