How to Dilute Chalk Paint for Sprayer?

Diluting Chalk Paint for Sprayer

Chalk paint is getting highly popular in home interior design for refinishing old furniture or other decor items. The paint can be applied with a brush, roller, or even with a sprayer gun as you do with any other regular paint.

If you prefer a smooth, uniform appearance rather than a textured look, using a spray gun is an effective method to achieve this desired outcome. Additionally, it allows for rapid coverage of large areas with less time and precision, resulting in a high-quality finish.

However, before spraying chalk paint, it is important to know that the paint is usually too thick to spray correctly. So, thinning it is almost always a requirement before spraying it.

The Process of Thinning Chalk Paint

The nozzle of the sprayer gun is engineered to mix air with the paint, creating a fan-like spray. But for this process to work effectively the chalk paint must be sufficiently thin otherwise it may dispense in clumps, resulting in an unsightly finish and potentially damaging the sprayer.

Thinning chalk paint is the same idea as thinning other kinds of latex paint. The first thing you need to do is read the manufacturer’s directions on the label of the paint can. It may tell you how much water to use to thin it out. If you can’t find any instructions on the can, you can follow some basic, universal guidelines for thinning paint until you achieve the best consistency.

Be careful not to over-thin the paint during this process. If you make it too thin, you will have to add more of the undiluted paint to make it thick again. This also means make sure you DO NOT thin all of the paint at the beginning. Save some in case this happens.

  1. Begin by filling the spray gun pot approximately halfway with Chalk Paint.
  2. Next, thin the paint gradually by adding small amounts of water at a time, stirring thoroughly to ensure thorough mixing.
  3. It’s crucial to avoid thinning the paint too rapidly, as this could compromise its consistency and effectiveness for spraying.

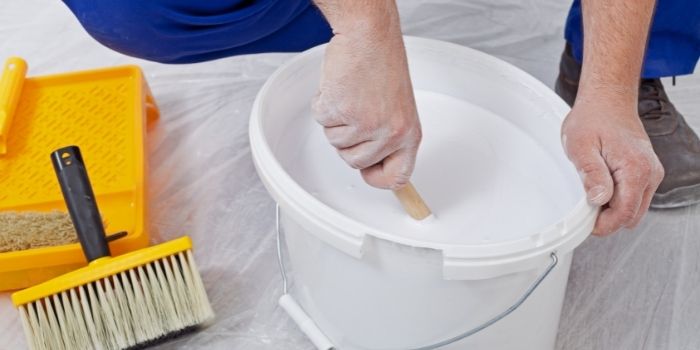
If you want you can thin the Rustoleum chalk paint in a bucket which will be easier if you have a large area to cover in a single day.

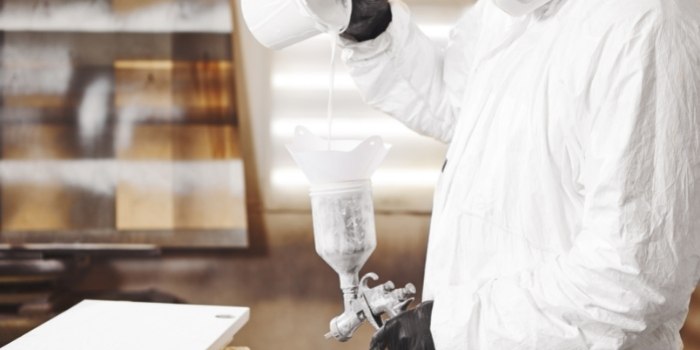
Start by pouring the desired quantity of paint into a bucket or container. Then, add an equal amount of water to the paint and mix thoroughly until well combined. Once properly thinned, pour the paint into your Wagner power sprayer and begin the painting process.

Do not forget to look at the consistency of the paint by putting it through a funnel. If the paint can freely flow through the funnel, you’ve achieved the perfect consistency for using the chalk paint in a sprayer.

Sometimes, you may have to add a little more water to get the best effect. When doing so, it’s best to add a little at a time; you can always put more water in, but once it’s in, you can’t take it back out.

After you add water to the chalk paint, keep in mind that you may notice a slight color change. Also, with thinned paint, you’ll need more coats to achieve the same level of coverage than you would need to if you used a roller or a brush.

Type of Sprayer to Choose for the Job and How to Use?

When you’re gearing up for a project, picking the right sprayer is key. There are mainly two types to consider: airless and HVLP (high volume low pressure). Airless sprayers are all about breaking paint into tiny droplets for a smooth finish, while HVLP ones use compressed air to create a fine mist, perfect for detailed work.

Now, onto the nitty-gritty of using these babies:

a) Preparation:

First off, prep your workspace like a pro. Cover up surrounding areas with drop cloths or newspaper to shield them from any rogue spray. Also, crack open a window or set up a fan for ventilation – gotta keep things breezy, even if chalk paint is non toxic and pretty chill.

b) Getting the Paint and Gun Ready:

Give that chalk paint a good stir, making sure it’s all nice and mixed. Then, load up the paint cup of your sprayer and tweak those settings according to the manual. You know the drill – adjust the air pressure, spray pattern, and fluid flow for that perfect finish.

c) Testing and Spraying:

Before you go all Picasso on your project, do a test spray on some scrap material. Make sure everything’s dialed in just right. Once you’re happy with the test, go ahead and unleash your creativity. Hold the sprayer about 6 to 8 inches away from your masterpiece-to-be and spray in smooth strokes, overlapping a bit for even coverage.

d) Cleanup and Final Touches:

Once you’ve worked your magic, it’s cleanup time. Give your sprayer a thorough clean to keep it in tip-top shape. And after the paint has dried, if you want to amp up that finish, you can go for a clear wax or sealer lacquer. Just brush it on evenly, or if you’re feeling fancy, bust out a roller or spray gun – your call.

Additional tips:

If your furniture piece is excessively dirty or greasy, consider sanding it first to achieve a smooth surface for the paint to adhere to.

When spraying chalk paint, it’s important to note that it tends to dry rapidly. Therefore, work in small sections to avoid over-application, which can lead to uneven coverage.

The Conclusion

Diluting chalk paint for a sprayer is a simple yet crucial step in achieving optimal results for your painting project.

By following the recommended guidelines and experimenting with different ratios, you can find the perfect consistency that ensures smooth application and professional-looking finish. Remember to consider factors such as the type of sprayer and the surface being painted to tailor your dilution process accordingly.

When you follow the instructions correctly, applying chalk paint with a Wagner power sprayer is straightforward and yields excellent results.

Other Related Posts:
How to Choose a Good House Painter – 10 Tips & Questions to Ask
how to choose a good house painter

The need for an interior painter is common for most homeowners. Almost everyone needs an interior painter for the interior Read more

How to Face-lift the Interior of Your Home – 11 Easy Tips

Interior decoration is a must for the lively and vibrant appearance of the home. You can always be creative and Read more

How to Paint Trim and Baseboard with Carpet Installed?
painting baseboard with carpet installed

You can bring new life to the interior of your home just by adding a new coat of paint to Read more

How to DIY Paint Old Wooden Blinds in Your Home or Office?

Wood blinds are highly energy-efficient and can add a lot to the warmth of your room interiors. These can also Read more

error: Content is protected !!