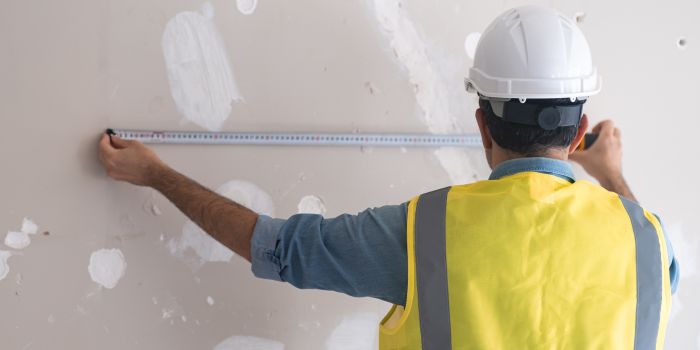
Technically, yes—you can install and finish your drywall backward.
Should you? Probably not, unless you’re feeling adventurous or running low on things to fix.
The back side of drywall isn’t exactly the belle of the ball: it’s rougher, lacks tapered edges for smooth seams, and can turn your quick project into an extended DIY saga. But it’s not entirely hopeless if you’re determined (or desperate).
If you can work extra to make it presentable or enjoy those hard sanding moments, priming the sheet, and meticulously finishing the seams, then installing drywall backward can be a passable option in a pinch.
In other words, it’s a “work harder, not smarter” solution that should only be used when absolutely necessary or creatively intentional. Basically, it’s more of a “plan B” than a best practice.
What's Here in the Article:
When to Risk Backwards Drywall?
Hanging and painting the drywall backward is kind of like wearing your shirt inside out. But just like that shirt situation, it’s not exactly a great look. Because it’s rougher, the seams will be more stubborn, and any rogue factory markings might photobomb your paint job unless you really put in the effort.
That said, there are rare occasions where it might not be the worst idea. Here’s a breakdown of those specific scenarios:
1. Small Spaces with Minimal Aesthetic Pressure
Think of areas where appearance isn’t a priority—like the inside of a closet, utility rooms, or storage areas. These are spots where functionality trumps flawless finishes. If you’re short on supplies or need to make do with what’s on hand, installing drywall backward might save a trip to the store.
- Example: A tiny patch job in an attic corner where no one but spiders will judge your handiwork.
- Why It Works: Any imperfections won’t be front and center, and you can always slap on some thick paint to mask flaws.
2. Unique Textured Finishes
The backside of the drywall has a rougher texture that might fit certain design visions. If you’re experimenting with a rustic, industrial, or raw aesthetic, the less-polished surface could actually be a feature, not a bug.
- Example: Creating a textured accent wall for an edgy, loft-style vibe.
- Why It Works: Instead of smoothing out the surface, you can lean into its natural imperfections to add character.
3. Emergency Fixes or Budget Constraints
In a pinch—like during a last-minute project or when funds are tight—using the backside might feel like the only viable option. This is less about preference and more about necessity.
- Example: You’re out of time and budget, but you need to cover an exposed section quickly.
- Why It Works: It gets the job done temporarily, even if it’s not pretty.
Preparing and Painting with Backwards Drywall
If you’ve decided to tackle the challenge of installing drywall backward, preparation is key to minimizing its inherent flaws.
Here’s a step-by-step guide to help you achieve a decent finish, even when working with the rougher side:
Step 1. Inspect and Clean the Back Side
Before priming and painting drywall, it’s essential to check for defects by examining the backside for ink markings, blemishes, or damage that could show through the paint or cause uneven surfaces.
Additionally, remove any dirt and dust using a clean, dry cloth or a vacuum, as a dirty surface can make the priming and painting process more challenging.
2. Use High-Quality Primer
The back of drywall often has porous material or printed marks, making the use of a good primer essential to seal the surface and prevent ink or stains from bleeding through the paint, while also creating a smooth, uniform base for the topcoat.
To achieve the best results, it’s recommended to opt for a stain-blocking primer specifically designed for drywall and to apply two coats of primer if the surface has significant blemishes or discoloration.
3. Plan for Joint Finishing
Since the back side of the drywall lacks tapered edges, achieving smooth seams will require extra effort. To ensure a seamless finish, use a more joint compound by applying a wider layer of mud over the seams to blend them with the surface.
Additionally, feather the edges by sanding the dried compound thoroughly to create a gradual transition.
4. Smooth the Surface
The rougher texture of the backside may require extra attention before painting. To smooth it out, apply a thin layer of the joint compound across the entire surface through the skim coating.
After the skim coat dries, sand the surface using fine-grit sandpaper until it’s smooth for better results.
5. Paint with Care
Once the surface is primed and smooth, painting becomes the final step. For better coverage, use high-quality paint and apply multiple thin coats instead of one thick coat to avoid streaks or uneven patches.
TIP: If achieving a perfectly smooth surface feels too daunting, consider adding texture to mask imperfections. Techniques like sponging, stippling, or knockdown textures can transform the rough side into a design feature.
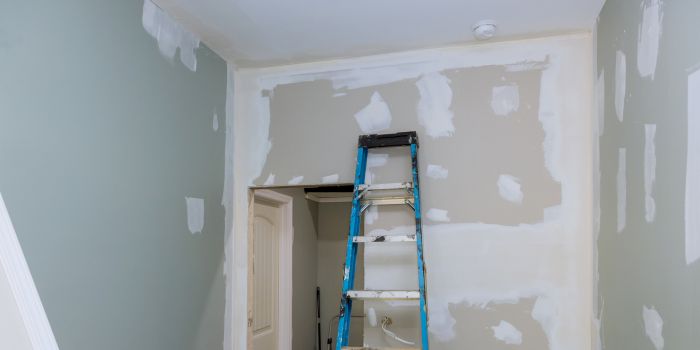
Alternatives to Installing Drywall Backwards – Pro Recommendations
If flipping drywall isn’t the best option for your project, there are several alternatives to consider. These methods can help you avoid the potential issues of installing drywall backward.
Use leftover pieces of drywall properly instead of flipping them
Instead of flipping them around and dealing with the rougher side, you can repurpose the leftover drywall sheets and pieces from a previous project, even if they’re not perfect.
- Cut and Fit: Trim the leftover drywall into smaller, more manageable pieces that work in areas where the imperfections won’t be as noticeable. This is a better alternative to flipping a large sheet and trying to make it fit in a prominent spot.
- Use for Ceilings or Small Sections: If the drywall is slightly damaged but still usable, consider installing it in less visible areas such as ceilings, utility closets, or small storage rooms. These spaces are less likely to require flawless finishes.
- Repair Damaged Areas: Instead of installing it backward, cut out the damaged section and patch it with leftover pieces. This way, you avoid the rough texture and still reuse the material effectively.
- Combine with New Sheets: Use the leftover drywall in combination with new, undamaged sheets to create a seamless installation, ensuring that the more noticeable areas are finished with proper drywall surfaces.
Explore alternative materials like plywood or paneling for areas where aesthetics are less important
Plywood and paneling are excellent alternatives when you’re after a rough, industrial, or rustic look.
Plywood, especially, is quick to install, requires less prep work than drywall, and holds up well in high-traffic areas like workshops, garages, or basements. Its natural texture is forgiving, making it perfect for temporary or utilitarian spaces.
Paneling, on the other hand, comes in a variety of materials like wood, MDF, and PVC, and can be installed either vertically or horizontally to create unique aesthetics. It’s a breeze to install—many types are pre-finished, so you can skip the sanding and painting. Plus, it’s low-maintenance, making it ideal for spaces that need durability more than a perfect finish.
If you’re looking for even more budget-friendly options, OSB (Oriented Strand Board) is tough, cost-effective, and perfect for areas where looks take a backseat. Corkboard or pegboard, on the other hand, can add both texture and functionality to kitchens, home offices, or craft rooms, giving you the bonus of a spot to pin notes or tools while adding some personality to your walls.
The Conclusion
In new construction, it’s not uncommon for a sheet to get hung backward.
While the back side of drywall can hold primer and paint just as well as the front, it’s not always a smooth ride because the rougher texture, lack of tapered edges, and potential for bleed-through can make for a challenging, less-than-professional finish. However, with extra effort in priming, sanding, and finishing, it can be done in small, low-visibility areas where aesthetics aren’t a priority.
If you’re looking for smoother, more efficient alternatives, consider materials like plywood, paneling, or OSB, which offer quick installation, durability, and unique aesthetics without the hassle of backward drywall.
Share the post "Can Drywall Be Installed or Painted Backwards?"
Douglas Becker (aka Painter Doug) has over twenty years of experience as a painter in Adkins, Texas. At present, he resides in Florida with his family.
From painting multi-storeyed houses, condos, and apartments to large commercial buildings and small offices, he had served various customers in areas not only in Adkins but also in Southwest Florida, Sarasota, Naples, and many more. To know more about him check here.
