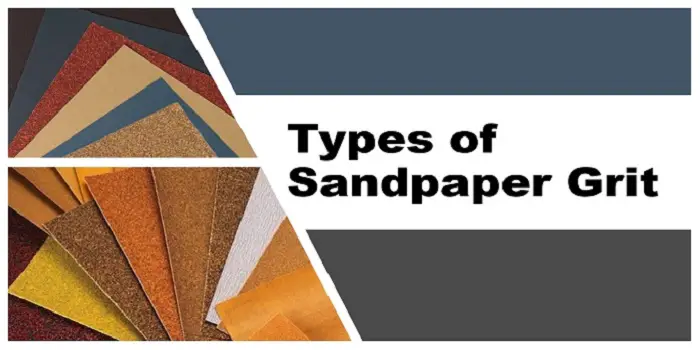
Sandpaper is the traditional tool to give wooden or metal surfaces a smooth finish.
Modern versions are the same with the addition of machinery that makes the sanding process easier and faster.
When working with the sandpapers, you will need to wear eye, hand, and breathing protection to ensure that the particles do not cause any health issues when in use.
Sandpaper comes in different types of grit which is important to understand if you want to choose the right one for the job that needs to be completed.
What's Here in the Article:
What is Sandpaper Grit?
The grit number that you see on all sandpaper indicates the size of the abrasive material that is glued to the paper.
Based on these ratings, sandpaper (with the right grit) can be used to smoothen the surfaces or roughen them.
In general, the higher the grit number, the finer it will be and can be used for achieving smoother surface finishes.
The lower the grit number, the more abrasive it will be to roughen or scrape off surfaces.
Keep in mind that sand is no longer being used.
Instead, such materials as aluminum oxide, garnet, and other synthetic abrasives are used because they are stronger and last longer compared to sand.
Sandpaper is categorized into different types, which is important to understand if you are planning on using it to smooth surfaces.
Different Types of Sandpaper Grit
Although there are many different types, they are based on three separate categories.
- Grit
- Abrasive Material
- Coat (Open or Closed)
The grit is how coarse the abrasive material is on the paper itself.
The amount of grit is based on the number of holes per square inch.
The holes are used to sieve the grains or particles during the manufacturing process.
The number scale ranges from the coarsest to the finest grit.
In other words, the higher the number, the more particles that are present, and the finer the grit.
Apart from specialized sandpaper, the numbers will range from 12 up to 600.
Although most people will use sandpaper with a grit number from 60 up to 220 as it will be enough for their job.
For further details, you can refer to the sandpaper grit chart below…
| GRIT | TYPE | PURPOSE |
|---|---|---|
| #30 to #50 | Extremely Coarse | For removing rust on metals |
| #60 to #80 | Coarse | For removing large amounts of wood or for rounding off corners |
| #100 to #150 | Medium Coarse | For general purpose wall sanding and between coats of wall paint |
| #180 to #220 | Fine | For roughening and preparing the surfaces for painting |
| #320 and Higher | Ultra-fine | To achieve a nearly glass-smooth texture |
Open vs. Closed Coat Sandpaper
The difference between open and closed-coated sandpaper is relatively simple.
Open coated sandpaper has grains that cover roughly 70% of the surface area.
You’ll find open-coated sandpaper for power tools as well as softwoods.
Closed coated means that it is completely covered in grains or abrasive material.
For hand sanding surfaces – this is the most common type, and it is often used on metal or hardwood surfaces.
Different Types of Sandpaper Materials
The type of coating or the backing indicates the density of the abrasive material used on the sandpaper.
In a general sense, the finer the sandpaper, the smoother the surface will be.
But coarse sandpaper has its uses as well.
You will need to understand what type of sandpaper is right for your needs.
Otherwise, you will not get the results that you want.
What follows are the different types of sandpaper materials available.
1- Aluminum Oxide
A synthetic grain is perfect for metals and hardwoods, although not well suited for softwoods.
Still, it is quite versatile and often used to polish alloy steel and even bronze.
2- Emery
A natural grain that is used mainly on metal to remove corrosion or rust.
However, the edges are sharp enough to be used on wood.
3- Flint
Sandpaper with flint material (a sedimentary cryptocrystalline form of the mineral quartz) is an economical, beige-colored product that is not so durable.
This is a natural grain that is commonly used for sanding away paint or varnish from wooden surfaces, especially for rough work on smaller projects.
4- Garnet
A natural grain that is not quite as hard as emery or flint but is well-suited to sand wood when using finer grains.
It’s not so well suited for metal.
5- Silicon Carbide
If you are looking for a material that is the most versatile, then silicon carbide is for you.
From metals to wood to plastic and more, this is perhaps the material you can use for all your sanding needs.
6- Steel Wool
Not sandpaper per se, but rather consisting of flexible filaments of steel or similar metal, steel wool is quite versatile.
It can remove grime, finish properly, and even polish surfaces such as metal.
You can remove old paint, prepare a surface, or clean away the grime using steel wool.
7- Zirconia Alumina
This is a synthetic grain that can sand metal or rough sand wood.
One big advantage of zirconia alumina is that the more you sand with the product, the sharper the grains will get.
This means you do not have to change out the sandpaper as frequently.
Tips for Using the Right Sandpaper for Your Project
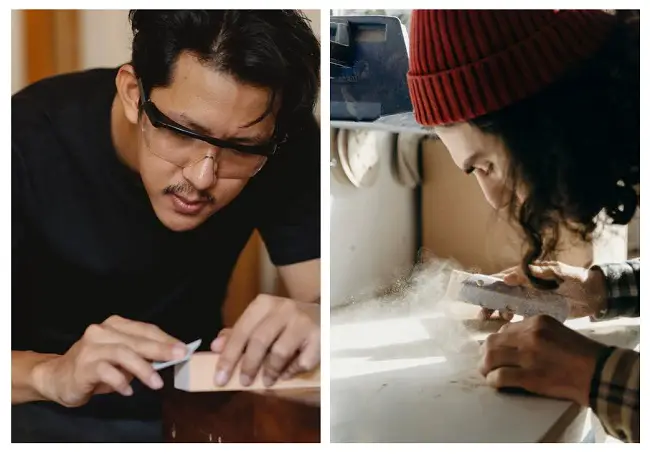
Here are a few tips that will help you choose the right sandpaper for the job.
Plus, you will find out basic sanding tips that will help you get the job completed sooner and better with less effort.
- Start with coarse sandpaper, then switch to fine sandpaper for the best results.
- Coarse sandpaper removes large issues while finer sandpaper smooths out the surface.
- For wood, use the open types of sandpaper as they are the best.
- For metal, use higher or finer grit sandpaper for the best results
- For iron or steel, use aluminum oxide
- For aluminum or brass, silicon carbide is the best
- To prevent clogging up the pores on the surface of the wood, sand with the grain
- Press just hard enough to let the sandpaper do the work
- Clean away the particles between switching types of sandpaper
Basically, you start with the coarse grit sandpaper of 60 to 100 on wood and sand away the larger imperfections.
Then switch to a finer grain such as 220 to smooth the surface.
By running your fingers lightly over the surface, you’ll know when to change the sandpaper.
If it feels smooth, use the rougher area of the sandpaper until it becomes smooth.
When too much of the sandpaper is smooth, it is time to change it out.
Choosing the Right Tools when Working with Sandpaper
The versatility of sandpaper is considerable.
You can fold up the sheets and sand by hand or use tools that can sand for you.
If you decide to use a sanding tool, the same rules for sandpaper grit and composition apply.
What follows are the basic tools that can be used to sand surfaces.
1- Belt Sander:
This popular power tool uses a belt or loop of sandpaper that wraps around the wheels or cylindrical drums of the device.
When turned on, the belt will rotate in one direction, allowing you to sand the surface.
The upside is that the belt sander is easy to use, especially on large surfaces.
The downside is that placing too much pressure on the sander will create an uneven appearance, especially on wood.
A variation is the drum sander in which a sanding belt is directly connected to a single drum as opposed to rotating between two drums.
2- Manual Sander:
This is a cheap tool that consists of a pad where you place the sandpaper, clamps that secure it, and a handle that you grip to move the tool back and forth across the surface.
The advantage of the manual sander is that you can work larger surfaces far easier compared to holding the sandpaper directly.
3- Orbital Sander:
One of the most recognizable power sanding tools, the orbital sander moves in a circular pattern to quickly and easily cover large surfaces.
It is really a circle with clamps to hold the sandpaper in place.
Some orbital sanders allow you to place standard sandpaper, while others have specialized sanding pads.
Simply place the sander on the surface and move it about in small circles until you cover the entire area. Work the surface until it is smooth.
The only downside is that you must vary how you move the sander. Otherwise, you get circles of sanded areas that will show up. But there is a solution to that issue.
A variation is the random orbital sander in which the base will move back and forth while the sanding platform is spinning.
The result is that this device minimizes the chance of getting sand patterns on the surface.
It is more expensive than a standard orbital sander, but it works quite well.
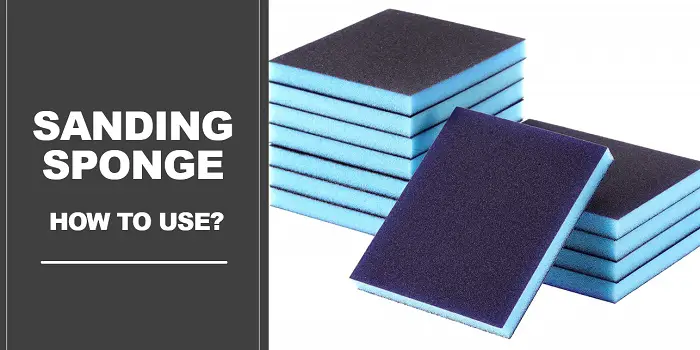
4- Sponge:
This is an interesting manual tool which is basically a sponge that contains abrasive materials.
Because it is flexible, it is easier to press against surfaces.
You can find some sponges that have hard edges, which makes sanding in difficult areas easier.
5- Vibrating Sander:
This tool fits into your palm and lets you sand using various plates.
From squares to rectangles for general surfaces and triangles to get into corners, the vibrating sander is quite versatile and requires little effort since the vibrating action does all the sanding for you.
Other types of sanders include floor sanders which are used to smooth out wooden floors or very large surfaces on which you can stand.
Bench-mounted sanders are, as the name implies, attached to your workbench and will spin or vibrate depending on their design.
Unlike most other sanders, you press the material against it rather than pressing the device to the material.
Final Thoughts
Traditional sandpaper goes back many centuries.
Above are the different types of sanders, sandpapers, and grit types.
Knowing which one is right for you will help in making the best-informed selection when you need to sand surfaces.
So, get the information and pick the right one when prepping for painting.
Share the post "What Are the Different Types of Sandpaper Grit – How to Use Them?"

Douglas Becker (aka Painter Doug) has over twenty years of experience as a painter in Adkins, Texas. At present, he resides in Florida with his family.
From painting multi-storeyed houses, condos, and apartments to large commercial buildings and small offices, he had served various customers in areas not only in Adkins but also in Southwest Florida, Sarasota, Naples, and many more. To know more about him check here.

