
Avid smokers know how poorly nicotine stains the skin and teeth.
Even worse, it does the same with the walls and ceilings of the houses, which allow smoking.
If you have been smoking in your house for years, you may easily notice it in the form of yellowish or brown streaks on the walls and ceiling.
The longer you have been smoking inside, the worse the stains will look.
Finding out how to get rid of nicotine and smoke residue from walls will not only help you in wiping out the ugly marks but also the smoke smell from your house.
Particularly at times, when you need to repaint the walls in your home (or planning to put a wallpaper), you should not ignore this step as the smell will then penetrate deep inside and can cause several health issues later.
Cleaning smoke damage from painted walls before priming and repainting will also ensure that the paint will stick to the surface properly and stays there for long.
What's Here in the Article:
Cleaning Cigarette Smoke from Walls
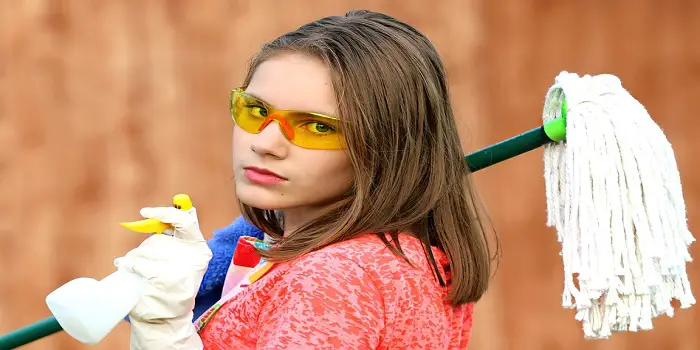
Making use of cleaning solvents to clean cigarette smoke from walls and ceilings isn’t tough.
All you need is to choose the right cleaning agent.
But remember, it can take some time for you to perform it correctly.
Before you start cleaning your walls, vacuum them with an upholstery attachment to remove all the visible dirt, debris, and smoke.
You can also use a damp cloth or microfiber cloth to wipe the walls gently before you start with a deep cleaning process.
Depending on the results you want to achieve, how tough the stains on walls are, and various other factors, here are the top wall cleaners you can use to get nicotine off of walls before you apply the paint…
1- TSP
Trisodium Phosphate, or TSP, is my favorite solution when I need to clean the walls and ceilings before painting.
It’s powerful enough and is known to eradicate the worst smoke damage and nicotine stains.
It works as an efficient degreaser for cigarette tar too.
The usual dilution for cleaning is 1tsp of TSP to one gallon of water.
But make sure you follow the labeled instructions before diluting.
- Apply the TSP cleaner with a sponge while keeping in mind that you start wiping from the bottom of the walls.
- Let the solution work for some time before you rinse it off.
- When cleaning your walls with TSP, don’t forget to wear rubber gloves for protection.
2- Vinegar
Pure vinegar is another great solution that works remarkably well to cut through the oldest nicotine residual stains.
The acetic acid of the vinegar not only works to break the stain but also to remove the residue smell from the walls.
There are two common ways to use vinegar.
The first is by spraying the solution, and the other is by using a sponge.
- For preparing a DIY nicotine stain remover solution, just mix a few drops of 20% pure vinegar with warm water in a spray bottle.
- Spray the solution directly on the wall and wipe it with a sponge.
- If you still see the stains, then add some more quantity of vinegar, spray again and wipe.
Another recommended way to use vinegar when cleaning nicotine is to mix vinegar and water in a gallon bucket and rub the stains with a sponge.
To avoid dripping on the walls, wring out the extra solution before you wash the wall.
If your wall has oil-based paint, add some mild detergent to the solution for better cleaning results.
Vinegar also helps in old wallpaper removal from the walls.
Spray the vinegar and water solution on the wallpaper and allow it to rest for some time to soften the glue.
Hold an edge and cautiously peel the wallpaper from the wall.
As with TSP, make sure you wear gloves when cleaning with vinegar to avoid allergies and burns.
TIP:
Include a drop or two of your favorite essential oil to the mixture if you find the smell of vinegar unpleasant.
3- Baking soda
Homemade baking soda solution to clean smoke off walls can be prepared using ½ cup baking soda, 2-3 tsp. dish soap (or a sugar soap), and hot water.
- Mix dish soap and baking soda in a bucket full of water.
- Dip a cloth into the solution and wring the excess.
- Wash every wall, starting from the lower end to the top surface.
Remember, you should scrub over the walls in a circular manner for better cleaning results.
Also, remember to work on walls in small sections and dry that section with a dry cloth.
This will not allow the excess water to get absorbed into the walls.
4- Magic Eraser
Mr. Clean Magic Eraser is our next product that can do wonders for cleaning stained walls due to smoke.
It is also a great cleaner to remove crayons, ink, candle soot, or other stains from your textured walls within minutes.
- In order to use Magic Eraser, run the sponge under water and wring out the excess water.
- Scrub the walls gently till the stains are removed.
- The scrubber on the sponge starts functioning with water and can easily remove cigarette stains from your drywall instantly.
- Rubbing hard with Magic Eraser may also damage your painted surfaces and the eraser. So, use it carefully!
These cleaning pads can also clean glass, doors, baseboards, etc.
A lot of people suggest that sponges with ridges can last longer than normal sponges.
Before buying, you should therefore check the product based on your needs.
5- Simple Green
Simple Green is another safe remedy for cleaning painted walls that are affected badly by nicotine seeping through paint.
- Just spray it on a soft-bristled brush.
- With a bit of pressure, rub the marks on the painted walls
- Rinse the area with warm water and wipe with a dry towel
The good thing I like most about Simple Green is its potential to remove the deepest yellow stains that had penetrated the walls for years.
Plus, it functions as a deodorizer eradicating the old cigarette smell from the house.
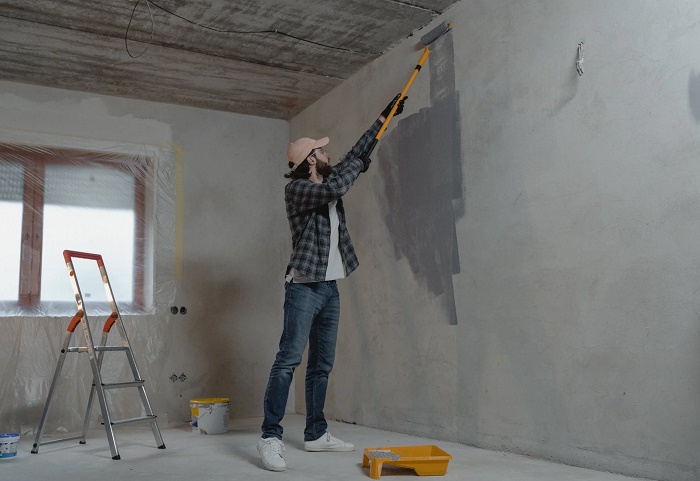
How to Paint Over Nicotine-Stained Walls and Ceiling?
While painting over cigarette smoke works in most cases, keep in mind that not all coatings will cover nicotine (and other smoke stains) well on the walls and ceilings.
This means that if you put on a normal coat of paint without cleaning the walls, you will continue seeing the stains, and even a second coat may fail to hide them.
For getting the best results, you need to use an odor sealing primer along with a stain-killing paint that is meant for smokers’ houses.
Brands like KILZ manufactures these types of stain-killing primer paints that are available in shellac, latex, and oil-based formulas.
These are effective in hiding and sealing the cigarette smoke in your house (on surfaces like walls and wood) for a long.
After you have cleaned up and picked the best primer paint for cigarette smoke, you can follow these steps…
Step 1. Prepare the walls
Cover nail holes and gouges with spackling or painter’s putty, with the help of a putty knife.
Sand the compound with a sanding pad and wipe out the sanding dust with a clean, moist cloth.
Use a bead of painter’s caulk to the seams between the molding and walls with the help of a caulking gun.
Even out the caulk with your fingers and remove the excess with a damp cloth.
This is an optional step, but it will offer a seamless finish when painting.
Remember not to use the silicone as a filler as the paint will not stick to it well.
Step 2. Protect with painter’s tape
Cover the crown molding bottom and baseboards top with the help of a painter’s tape.
Also, apply the painter’s tape to the facings of the windows and doors, carefully pressing it down to seal the edges so that no paint seeps through.
This step will help protect the trim and create a neat, professional-looking finish.
Step 3. Apply the odor sealing primer
In a bucket, pour some stain-blocking primer.
Now dip a 2-inch angled paint brush’s tip into it.
Tap the bristles on the paint pail’s sides to distribute the primer equally.
Do not rub the bristles on the pail’s side.
Use the brush across the perimeters of the walls and places where a roller won’t fit.
Put a pan liner in a paint pan. Place a medium nap roller cover on the handle of the roller. Pour primer into the paint pan.
Dip the roller in the primer and roll it front and back on the grid lines to get an even quantity.
Use the roller to put a primer coat on the walls.
Make sure you roll over the cut line. You can take the help of a paint pole to enhance the roller’s reach.
Even the spills or thick lines. Let the primer dry for the time period mentioned in the case, as it may vary for different products.
Put a second primer layer similarly and let it dry fully.
Clean the paintbrush and the pail with detergent when applying water-based primer or with paint thinner when applying solvent-based primer.
Step 4. Apply the stain-killing paint
Now use a stir stick to stir the paint can and mix the color pigments well.
Do not shake the can, as shaking may create air bubbles in the paint.
Use a new paint pan line and a new medium-nap roller cover on the roller handle. Drop the paint in the paint pail and pan.
With a brush paint on the perimeter of the walls.
Go for smooth and long strokes, and put the nicotine paint blocker nicely where you can’t reach with a roller.
Dip the roller uniformly with paint and move it over the cut lines to mix and texture the brush stains.
Use a paint layer to the walls with long and smooth rolls, and make sure you have a wet edge to avoid dried roller stains.
Even out the thick lines and roll the roller evenly. Let the paint dry for the time mentioned by the manufacturer.
Use a second layer of paint and let it dry for 24 hours before you replace the pictures and outlet covers.

What Causes Nicotine Stains and Why Are They So Difficult to Remove?
Nicotine stains aren’t just surface marks; they’re the stubborn fingerprints of tobacco smoke that seep deep into your home.
Every time tobacco burns, it releases tar and nicotine.
These sticky particles don’t just float harmlessly in the air—they cling to walls, ceilings, and trim, slowly layering into unsightly yellowish-brown stains.
Unsurprisingly, the areas closest to smoking spots—like living room walls near ashtrays or favorite chairs—become the worst offenders.
But here’s the real challenge: nicotine stains don’t respond to ordinary cleaning.
Their oily, penetrating nature allows them to soak into paint and drywall, making them almost impossible to scrub away with household cleaners.
At best, you might lighten the marks—but rarely will they disappear.
That’s why serious solutions—heavy-duty cleaners or specialized nicotine-removal products—are often the only way to truly reclaim your walls.
And if you try to just paint over them without the right prep work?
Those stains will bleed right through, ruining your fresh coat and doubling your frustration.
If you want your walls to look clean, fresh, and truly renewed, tackling nicotine stains the right way isn’t optional—it’s essential.
Final thoughts
If you smoke inside your home, the nicotine from it can bleed into the already painted walls and will stick on the wall pores.
This usually leaves permanent streaks and foul smells, which can only be removed by repainting.
Having painted your house nicely, you don’t want to repaint your walls very often.
But if you have a chain smoker in your house, you may have to repaint your house frequently – to remove the stains and smell of nicotine.
Make sure, before you paint the walls, you clean them with a good cleaner that can break down the tobacco film.
Then apply a good primer paint that can hide smoke stains.
Share the post "How to Paint Over Nicotine-Stained Walls and Ceiling?"
You can bring new life to the interior of your home just by adding a new coat of paint to Read more
Wood blinds are highly energy-efficient and can add a lot to the warmth of your room interiors. These can also Read more
Concrete houses appear more durable and stronger, but timber-made or timber & concrete fusion house designs are making a stance Read more
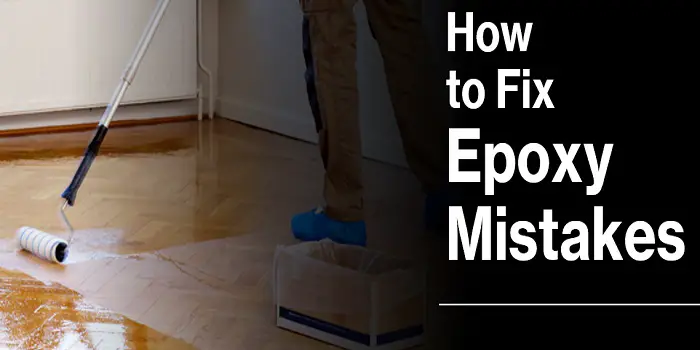
Although dealing with epoxy is not at all difficult, you are prone to make mistakes that can arise due for Read more

Douglas Becker (aka Painter Doug) has over twenty years of experience as a painter in Adkins, Texas. At present, he resides in Florida with his family.
From painting multi-storeyed houses, condos, and apartments to large commercial buildings and small offices, he had served various customers in areas not only in Adkins but also in Southwest Florida, Sarasota, Naples, and many more. To know more about him check here.