
Minwax® Gel Stain is a specially designed non-drip formula that eases your wood staining process while providing the most beautiful results.
Especially when you are finishing vertical surfaces, it allows you to deliver uniform colors evenly on wood – all thanks to its thick gelled consistency.
Not only on wood, but you can use this formula on non-wood surfaces like metal, fiberglass, plastic, and veneer to give them an attractive wood appearance.
The only downside of using Minwax Gel Stains or those manufactured by General Finishes is it’s not suitable outdoors where the wood surface is directly exposed to water or UV sunlight.
If you do use it, the external elements will cause the stain to lose its color fairly quickly.
With that being said, Minwax Wood Finish pigment stains can be used for exterior applications, provided you top-coat the stain with an exterior oil-based varnish (like Minwax® Helmsman® Spar Urethane).
If your outdoor wood furniture is resting under a shade (and is not exposed to direct water), you can, however, use the gel stain without the need for a top coat.
What's Here in the Article:
How to Use Minwax Gel Stain On Wood?
Using Minwax Gel Stain for your wood project isn’t tough if you follow the right steps.
Below is a step-by-step process you will need to follow for staining windows, doors, tables, chairs, kitchen cabinets, or other indoor furniture…
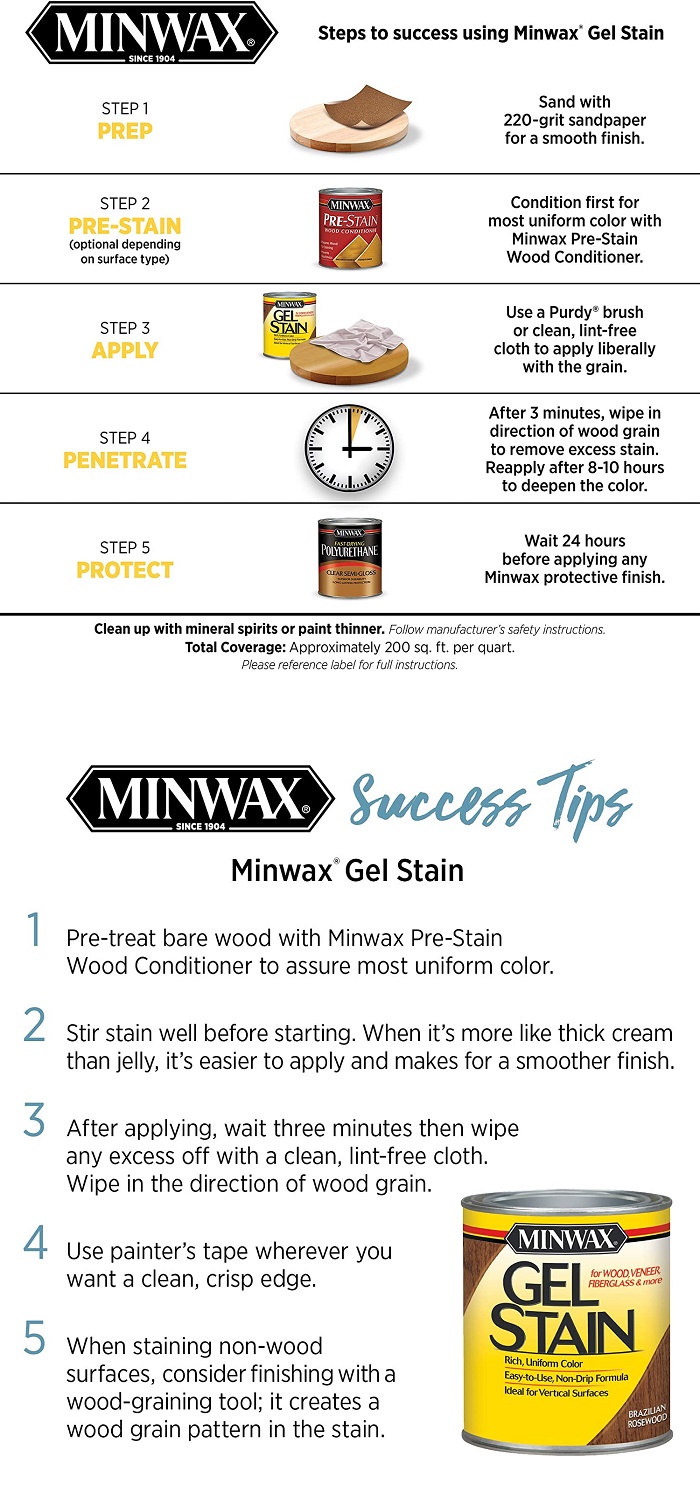
Step 1. Prepare the surface
Preparing your wood surface well is important before the application of gel stain.
So, you should start with sanding the surface in the direction of the grain.
Use fine-grade sandpaper (like #220) to sand.
After sanding the surface, remove the sanding dust and make sure that the surface is completely clean, dry, and free of dirt.
If any existing coating, grease, or glue is left, sand the surface a bit more until smooth.
Step 2. Pre-treat the surface
After you have achieved a smooth wood finish it’s good to pre-treat the surface with Minwax® Pre-Stain Wood Conditioner.
Woods like pine and maple tend to absorb stains unevenly, and applying this Pre-Stain Wood Conditioner will ensure even stain penetration.
After applying, allow some time to get the surface dry as this will ensure uniform acceptance of gel stain color.
Step 3. Prepare the gel stain
Now it’s time to prepare your Minwax® Gel Stain.
Without using any thinning agent, stir the stain until you see a creamy texture.
Remember, you will also need to stir the stain occasionally when you are applying it to the surface.
After the stain has been mixed, test it on a small piece of scrap wood or on a hidden wood surface to ensure you have the desired color.
Minwax Gel Stain is available in colors such as chestnut, aged oak, antique maple, honey maple, mahogany, walnut, cherrywood, Brazilian rosewood, red elm, hickory, and coffee.
So spend some time deciding the right color that suits your interior best.
Step 4. Apply the gel-stain
Gel stain should be applied in the direction of the grain using a brush or with a piece of clean cloth.
After waiting for about 3 minutes, remove the excess gel stain off the surface using mineral spirits and 3/0 steel wool. And let the surface dry for about 10-12 hours.
If you want a darker shade, you can put additional coatings of Minwax® Gel Stain over the first coat.
Make sure you do not sand the surface between coats and allow the stain to dry for at least 10 hours between the two successive coats.
Also, keep in mind that if you do not wipe off excess gel stain, it may remain tacky and will not dry completely, resulting in a substandard finish.
Step 5. Apply the clear finish
Gel Stain may take 24 to 36 hours to dry completely depending on the number of coats you have applied, temperature, and humidity in the air.
Once the wood surface is completely dried, you can finish your project with an application of clear protective finishes.
Minwax recommends finishes such as Minwax® Fast-Drying Polyurethane or Water-Based Oil Modified Polyurethane, or Helmsman® Spar Urethane.
But you can also apply varnish for a durable, glossy finish. You may also choose to put a fast-drying, durable top coat of lacquer over gel-stained wood, but it can be challenging to apply compared to polyurethane or varnish.
Can You Use Gel Stain Over Polyurethane?
Unlike many other wood stains, gel stains contain urethane (a primary ingredient in polyurethane) which enables them to bond perfectly to the existing polyurethane.
This means, for the sake of just changing the colors on your wood projects, you can use the gel stain over polyurethane without stripping.
But remember, since the gel stain won’t penetrate deeply into the wood, it will not give the same grain patterns. It will simply act like an opaque paint that helps in getting a different color over the polyurethane-coated wood.
Also, keep in mind that gel stain can work only on polyurethane due to its ingredients and urethane pigments.
It will not work with varnish, lacquer, shellac polish, or any other type of existing finishes. So, if you have an old finish that you are unsure of, make sure you test it first to ensure it’s polyurethane and nothing else.
For testing the surface, dab a cotton ball – dipped in fingernail polish remover liquid – on the finish.
If the cotton doesn’t stick, it’s a polyurethane, but if it sticks, it is most likely a varnish, shellac, or something else.
Why Choose Gel Stain Over Regular Wood Stain?
The major difference between gel and a traditional wood stain lies in how well they sink into the wood.
While a gel stain will sit on the top of the wood surface, a regular wood stain will seep into the wood delivering a crisp, consistent finish to the wood.
You can say gel stain is between staining and painting. It’s an ideal option for DIYers and homeowners who cannot decide what to choose between a stain and a paint for their wood surfaces.
A few other attributes that make gel stains unique are:
- It does not need perfect sanding before application.
- Unlike paint, it still shows some natural wood grain beneath.
- Its thick like pudding (not liquid) and is therefore ideal for vertical surfaces.
- It can be used on a variety of different types of wood surfaces, including raw and bare wood.
- You can also use Minwax gel stain for outdoor projects that are not directly exposed to sunlight.
The conclusion
If you’re serious about giving your wood projects a flawless, professional finish, Minwax Gel Stain is your secret weapon. Its thick consistency, easy application, and rich tones make it the perfect choice for both beginners and seasoned DIYers.
With just a bit of prep and care, you can turn ordinary wood into a showpiece that grabs attention and lasts for years.
So why settle for flat or uneven results? Grab that can of Minwax Gel Stain, trust your hands, and bring out the true beauty of your wood—one stroke at a time.
Share the post "How to Use Minwax Gel Stain for Your Wood Projects?"

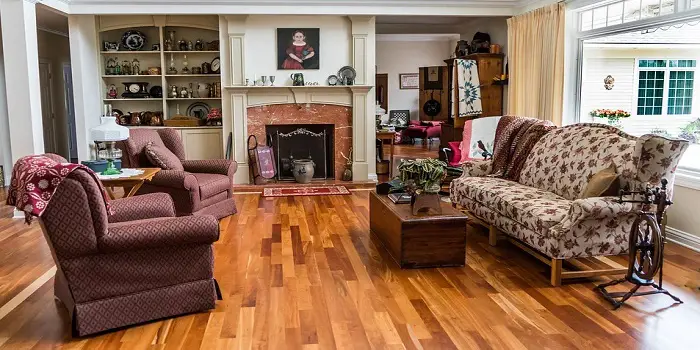
You can bring new life to the interior of your home just by adding a new coat of paint to Read more
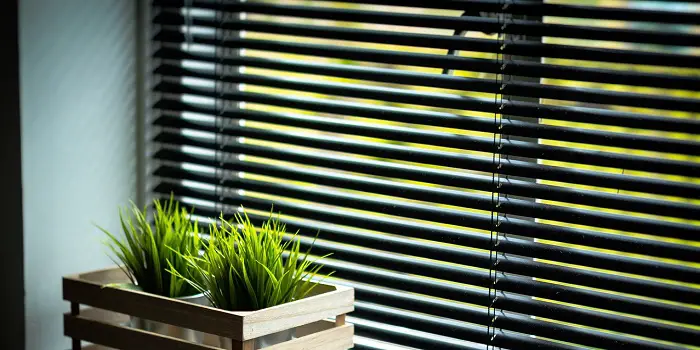
Wood blinds are highly energy-efficient and can add a lot to the warmth of your room interiors. These can also Read more
Concrete houses appear more durable and stronger, but timber-made or timber & concrete fusion house designs are making a stance Read more
Although dealing with epoxy is not at all difficult, you are prone to make mistakes that can arise due for Read more

Douglas Becker (aka Painter Doug) has over twenty years of experience as a painter in Adkins, Texas. At present, he resides in Florida with his family.
From painting multi-storeyed houses, condos, and apartments to large commercial buildings and small offices, he had served various customers in areas not only in Adkins but also in Southwest Florida, Sarasota, Naples, and many more. To know more about him check here.