
Fiberglass entry doors are becoming a great alternative to wood doors due to the variety of different advantages they offer.
The major one is – that, unlike wood, it does not warp, crack, or rot very soon with changes in climatic conditions or due to other environmental factors. Doors made of fiberglass are also superior to metals like steel because they don’t rust, scratch, or corrode with time.
That said, fiberglass doors are still prone to getting cracks due to cold, wind, rain, and sun, especially the ones used outdoors.
Removing nails, screws, doorknobs, latches, and other hardware will also often leave behind unsightly holes and scratches. These gaps aren’t just an eyesore—they can invite insects, allow moisture to seep in, and over time, lead to serious damage to your door.
Clearly, patching them up is a smart move. But how exactly should you go about it? Don’t worry—we’ve done the homework and have the answers ready for you right here…
What's Here in the Article:
Fixing Nail Holes On a Fiberglass Door
Fixing a fiberglass door while filling the small holes and fractures is not rocket science, but it’s not like patching up your average wooden door either.
Fiberglass has its own drama—so you’ll need the right filler and a touch of finesse. Here’s a step by step guide to get started.
Step 1: Gear Up Like a DIY Superhero
Grab your toolkit:
- Safety gear (goggles, gloves, mask—think lab experiment chic)
- Clean rag
- 220-grit sandpaper or better
- Plastic container
- Fiberglass filler
- Putty knife/spatula
- Screwdriver
Work somewhere airy unless you like breathing fumes and itching all day. Remove the door from its frame, prop it up like royalty, and you’re ready.
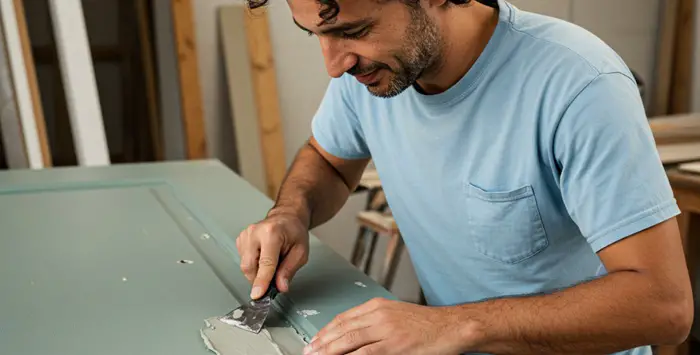
Step 2: Clean and Sand Like You Mean It
Wipe the door clean (gloves = no fingerprints).
Tape around the holes like a pro to avoid messy edges. Then sand down the jagged holes with that 220-grit sandpaper. Got dust? Wipe it again.
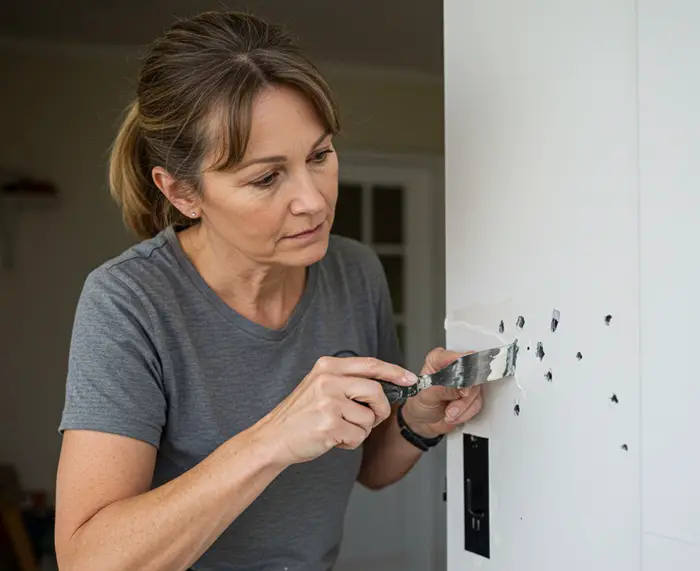
Step 3: Fill the Void (Literally) and Finish with Flair
Some fillers come pre-mixed, others are like a mini chemistry set—just stir till it looks like peanut butter. Apply in thin layers (thicker isn’t better here). Smooth it out, layer by layer, until those holes are history.
Once it’s dry, sand it smooth like nothing ever happened. Wipe clean, then paint or stain for that final like-new look.
What are the Best Fillers for Fiberglass Holes?
Fiberglass is tough, but it’s picky when it comes to repairs which means not all fillers play nice with it.
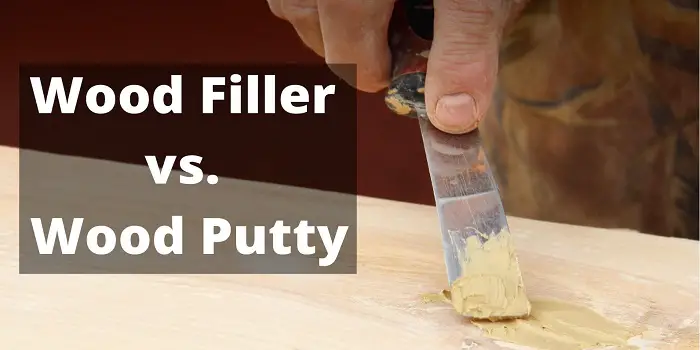
Wood filler or putty, for instance, might be tempting because they’re cheaper, but they lack the structural strength fiberglass needs.
Fiberglass doors require a more durable adhesive for proper insulation and resistance. Wood fillers won’t provide that, leaving your door vulnerable to damage. So, it’s better to stick with a fiberglass-specific filler to ensure your repair lasts and does the job right.
What are those, let’s list them down here…
1- Two-Part Epoxy Filler
A resin-hardener combo is a superhero of fillers. This one sets quickly and provides a strong, water-resistant bond. It’s perfect for fiberglass because of its fast curing, temperature-resistant, and practically immune to corrosion features.
2- Reinforced Filler
For a tough-as-nails fix, go for a reinforced filler made specifically for fiberglass. These bad boys are thicker and stronger than regular fillers, dry fast, and often come with waterproof features.
3- Polyester Resin Filler
Polyester resin is easy to find and bonds well with fiberglass, making it a solid choice for minor repairs. Just keep in mind, that it’s better for temporary fixes since it’s not as durable long-term.
How to Fix Large Holes and Cracks in Your Fiberglass Door?
So, you’ve got a giant, gaping hole in your fiberglass — be it on your boat, pool, patio deck, or that DIY hot tub idea gone wrong. Don’t panic. With a little elbow grease, some resin wizardry, and a bit of sarcasm, you can patch it up like it never happened.
Step 1: Prep Like a Pro
Start by cleaning the wounded fiberglass area with acetone. Yes, that same stuff that removes nail polish can also erase grime, wax, grease, and regrets.
Then, sand the area around the hole using 80-100 grit sandpaper until it looks like it’s been through a light exfoliation session. This rough zone, charmingly known as the “wetting surface,” helps the patch stick like drama at a family reunion.
Vacuum the dust, wipe the area with a wax/silica remover, and let it dry.
Step 2: Cut Your Fiberglass Patch
Suit up with gloves and goggles — you’re entering “DIY Hero” mode. Measure the hole, then add 2–3 inches extra on all sides for a patch that covers the hole and a bit of its feelings too.
Cut the fiberglass cloth using sharp scissors. A thick, 10-ounce cloth is ideal — strong enough to hold together your repair and your dignity. Remember: bigger patch = better support = fewer future freak-outs.
Step 3: Mix Epoxy
In a disposable container (don’t use your good Tupperware), mix the resin and hardener as the box says. Stir it with a paint stick for a few minutes until it looks like a science experiment that’s going right for once.
Go for a slow-cure epoxy so you have more time to adjust, breathe, and question your life choices before it starts hardening.
Step 4: Soak It, Smooth It, Stick It
Use a brush or roller to saturate the fiberglass cloth with epoxy like you’re making a very sticky lasagna. No dry spots, or you’ll get air bubbles, which is fiberglass-speak for, “Oops, your repair just failed.”
Smooth it all out with a spreader and press the patch in place. Tape down the edges with painter’s tape — no duct tape drama here. It’s time for this patch to bond better than your weekend group chat.
Step 5: Slather On the Epoxy Like It’s Frosting
Now, coat the surface of the patch with thickened epoxy. Work from the center outward so the air bubbles have an escape route (unlike you, who are now stuck in a home improvement project).
Use a plastic spreader and firm pressure to squish out any trapped air. Remove the tape once the patch is in place and looking halfway decent. If it’s wrinkled, don’t worry — so is your forehead by now.
Step 6: Apply Protective Layers
Once the first layer has cured (consult your epoxy label — it knows best), brush on 2–3 more thin coats of clear epoxy. This is like giving your patch armor against water, chemicals, and nosy neighbors asking what happened.
Let each coat dry properly. No shortcuts. This isn’t your college essay.
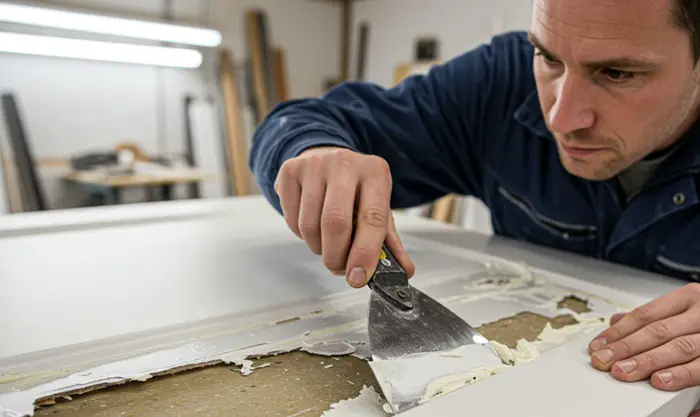
Step 7: Sand, Smooth, and Act Like It Was Never Broken
After 48 hours of hardening (and possibly therapy), sand the patch flush with the surrounding area. Use 80-100 grit and a light touch — we’re smoothing, not digging a new hole.
Top it off with primer, gelcoat, paint, or whatever finish suits the surface — whether you’re aiming for “like new” or “good enough from five feet away.”
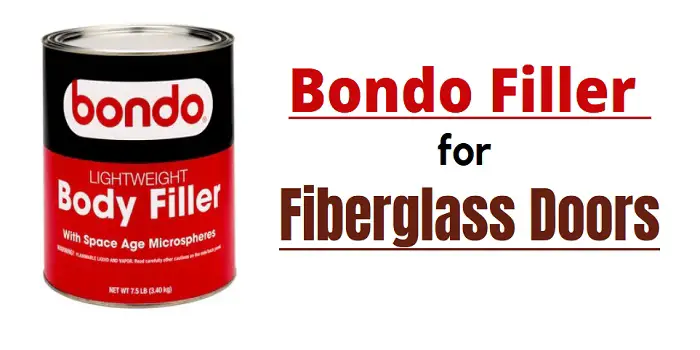
Can You Use Bondo Body Filler for Repairing Fiberglass Doors?
Bondo Body Filler is a typical two-part putty compound that is used for repairing scratches, dents, dings, holes, rust, and other minor flaws in the vehicle’s exterior body.
Originally marketed as an automotive body filler, it’s presently also a commonly used product for repairing fiberglass materials in the home and marine industry.
The reason why Bondo products such as body filler are becoming a top favorite for household repairs is that it’s branded by 3M for their line of American-made products.
And yes, you can use it for repairing the cracks or holes in your fiberglass doors, windows, trims, bathtub, shower, or a boat at home. The biggest advantage of using Bondo over a regular wood filler or polyester filler is its very short drying time.
While a wood filler can take hours to dry, Bondo filler will mostly dry in less than 30 minutes. Also, unlike wood filler which requires more than one coat, you can get the door repairing job done using Bondo with only a single coat.
A few other properties that make Bondo filler an ideal choice for fiberglass doors are its non-shrinking, waterproof, and permanently durable after it gets cured on the surface. And not to mention, you can even use it for repairing surfaces made of materials like alloys, wood, as well as concrete.
To fix and repair the cracks in fiberglass, you can use the Bondo by following the steps given below…
- From your Bondo kit, mix the filler and the hardener on a clean piece of plastic or glass.
- Mix the hardener and Bondo filler material thoroughly until the mixture reaches a uniform color
- With a plastic spreader (included with the Bondo kit), spread the mixed filler over the area to be repaired.
- Apply the filler in not more than a ¼-inch thick layer; make sure you remove the excess filler with a clean piece of rag by wiping it in one direction.
- Allow the filler to dry and cure for about 10 to 15 minutes; once dried and sealed, you can sand the surface lightly and apply the desired finish like paint or stain
Tips and Warnings
Although Bondo Fiberglass Resin filler is sandable, you should not sand the surface hard.
For sanding, wait for at least an hour to dry the filler and use fine-grit sandpaper or steel wool. If you need to refinish the door with paint or stain, select the product that is designed for the project.
There are products such as Bondo all-purpose putty, Bondo metal-reinforced filler, and a few others available on the market. While they can work, it’s good to choose the one that is specifically meant for fiberglass.
Final Thoughts
Fiberglass material is built to last and can stay in top shape, provided you fix the minor scratches and cracks from time to time.
Since complete replacement of fiberglass doors can be very expensive, I recommend performing at least a yearly maintenance that will not only help fix the damaged fiberglass panels but also prevent them from getting worse and irreparable.
Epoxy filler or a bondo filler is one good product that can help fix the issues related to gaps, holes, and cracks in fiberglass doors and windows. If you plan to use something else, just make sure you use the right product and follow the right process.
Share the post "How to Fill Holes in Fiberglass Doors (Best Fillers to Use)"
One thing which I have learned so far in my career is that people do make mistakes while renovating their Read more
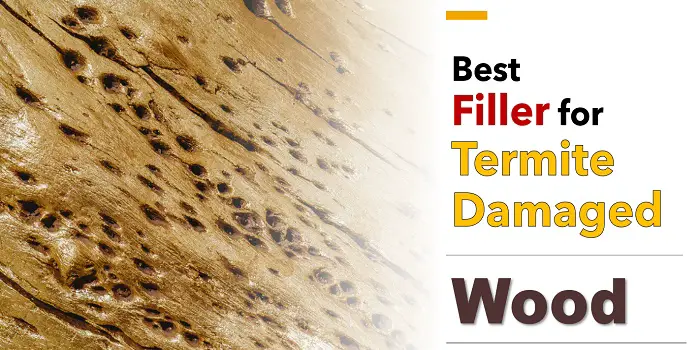
Termites are a real nuisance when they attack your place. They have the potential to destroy your entire home furniture Read more
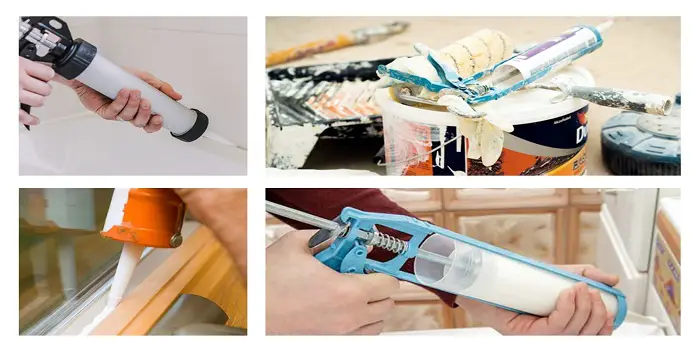
Acrylic latex caulk (also called painter's caulk) is a general-purpose household compound that is inexpensive to buy and used for Read more
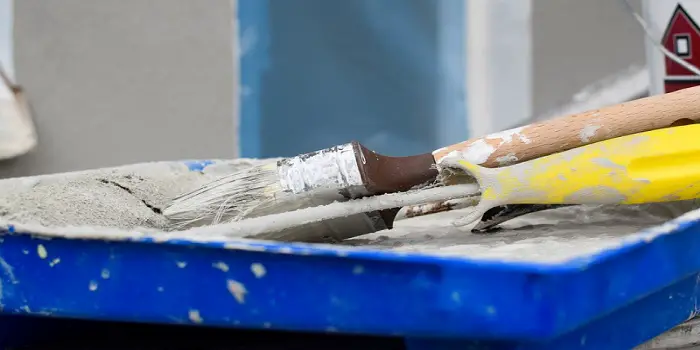
As a professional painter, I have used painter’s putty for my entire career. The easy application and smooth finish make Read more

Douglas Becker (aka Painter Doug) has over twenty years of experience as a painter in Adkins, Texas. At present, he resides in Florida with his family.
From painting multi-storeyed houses, condos, and apartments to large commercial buildings and small offices, he had served various customers in areas not only in Adkins but also in Southwest Florida, Sarasota, Naples, and many more. To know more about him check here.