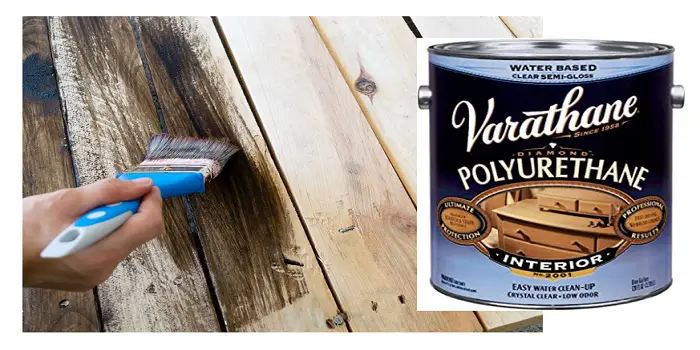
A brand of polyurethane that is made from Rust-Oleum, Varathane is designed to protect the wood by providing a clear finish that prevents stains and moisture from penetrating the surface.
Made for furniture and particularly tables, Varathane is easy enough to apply, but the surface will have to be prepped if you want the best results.
What follows are some tips on properly preparing the surface, so you can apply the Varathane for long-lasting results.
So, let’s dive into and check the basic steps for applying the clear finish…
What's Here in the Article:
Varathane Application Guide
Varathane clear finish is a popular choice for wood projects because it enhances the natural beauty of the wood while providing strong protection against scratches, moisture, and daily wear.
It’s easy to apply, dries relatively quickly, and comes in both water-based and oil-based options to suit different needs.
Here are the steps you need to follow when applying the Varathane wood finish to your furniture or floor.
Step 1. Preparation
Varathane is designed to be applied to wood, so you will need to sand it smooth first to get the results that you desire.
Start by setting up outside or in a garage with an open door and fan to provide plenty of ventilation.
This is because Varathane gives off fumes when wet, which can be dangerous to inhale.
Once you have found the area to work on your furniture, lay down a drop cloth to catch the sawdust and any drips from the Varathane so that you do not have to clean up the ground or floor.
Step 2. Sanding
Sanding the surface will remove any imperfections such as dents, chips, or loose material.
The result will be a smooth surface where the Varathane can be applied.
Start with sandpaper of a coarser grit such as 100.
Then, move to a finer grit in stages. It is recommended that you go up to 150-grit, then 220-grit for the best results.
How much you sand will depend on the condition of the surface.
You may need to apply a considerable amount of sanding or perhaps only a light going-over depending on its condition.
Keep in mind that if the table already has a finish, that will need to be fully sanded away before you can apply the Varathane.
Once you have finished sanding, wipe or sweep the surface clean of any sawdust and lose particles.
You can use a lint-free cloth that has been dampened with mineral spirits to ensure that all loose particles have been picked up.
A dry lint-free cloth can be used to remove any moisture left behind by the mineral spirits.
Step 3. First Coat
Before applying your first coat, it’s important to understand the difference between water and oil-based Varathane.
While oil-based Varathane is more durable and resistant to heat, it also has a tint that may cover the natural beauty of the wood.
If you want to see the wood in its natural state, water-based Varathane is better, but it does not last as long compared to the oil-based versions.
Whichever version you choose, be sure to stir the Varathane before applying it.
Do not shake it as air bubbles may form which creates a less-than-smooth finish.
You can add some mineral spirits if the mixture of Varathane seems too thick.
Once you are ready, put on a respirator if the fumes are still strong and you are ready to apply the first coat.
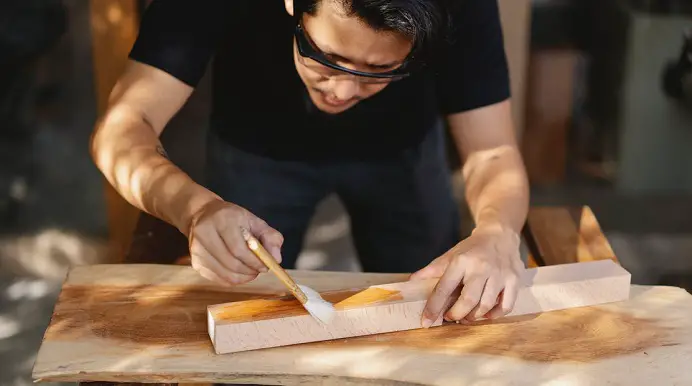
Brush the Varathane on the surface.
Long strokes that overlap are the best way to ensure coverage while not leaving behind any excess.
You should be mindful of any unevenness that may cause the Varathane to pool.
Instead, it should be an even result. Once you apply the first coat, clean the brush thoroughly for the second coat.
Step 4. Let It Dry
While water-based Varathane takes up to six hours to dry, oil-based versions take up to 24 hours.
You can test if it is dry by sanding an area that is not in sight with 220-grit sandpaper.
If it is dry, then you can lightly sand the surface with the same 220-grit.
The goal is to even out any uneven areas.
One advantage of sanding is that you remove any particles that might’ve gotten stuck in the Varathane before it dried.
If the bumps are significant, use a sharp razor blade over the area, then sand again.
Step 5. Second Coat
Once the surface is smooth, you can apply a second coat.
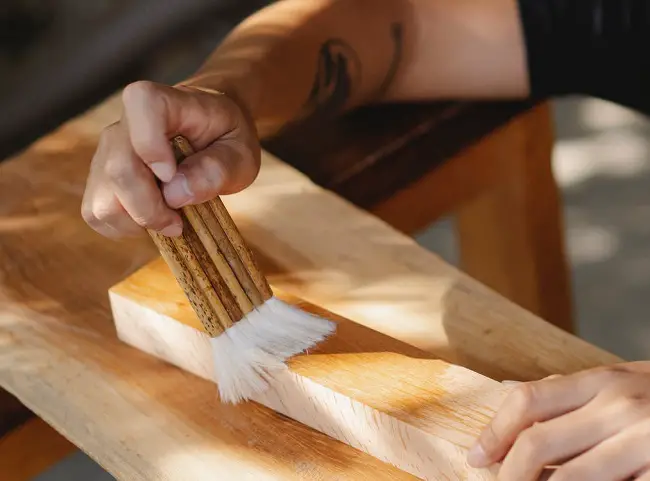
Use a clean brush and lightly apply the second coat.
Let it fully dry and this time, use 400-grit sandpaper to smooth out any bumps or imperfections.
For oil-based Varathane, two coats are generally enough to work.
Although in some cases, a third coat may have to be applied.
This is because oil is thicker than water.
The water-based versions require multiple coats, up to ten or even more, because it is not as thick.
Step 6. Let Dry & Polish
Once you have applied enough coats, let them dry.
Generally, water-based Varathane dries much faster than oil-based options.
Typical drying times are:
- Water-based Varathane: Usually dries to the touch in about two hours and can be recoated after roughly four hours.
- Oil-based Varathane: Dries more slowly, often taking four to six hours to become touch-dry.
Check that the Varathane has fully dried and should not be giving off any strong odors.
It is now time to polish the surface.
You can buff the surface using a clean cotton cloth.
When buffing, a circular motion will bring out the shine and not leave behind any marks.
After you apply the polish, take the table or item you have treated and set it up in a different light situation.
Here, you can see if there are any areas left to polish that you may have missed before.
After fixing them, now you can bring the item back into the home.
Varathane vs. Polyurethane?
Polyurethane is a type of resin used to make the finish.
Whereas Varathane® is specifically a brand name.
In fact, all the film-type coatings that are sold under the Varathane label are polyurethane-based finishes.
When talking about Varathane®, Crystal Clear Water-Based Polyurethane, it’s a product designed to let wood’s natural beauty show through.
The reason why most homeowners, DIYers, as well as professionals use this product is that it’s known to provide the highest clarity over other water-based polyurethanes.
You can use Varathane to achieve an outstanding, scratch and stain-resistant finish to keep your interior wood projects looking great for longer.
Can Varathane Be Sprayed on Wood?
Many times, applying Varathane polyurethane with a brush is difficult, and it doesn’t provide you with the clear, durable finish you are looking for.
I had seen people complaining that it looked like plastic when they applied poly with a regular bristle brush.
Plus, it also left bumps when dried.
If you think it’s hard to use a brush, picking Varathane Professional Clear Finish Aerosol Spray can be your best option.
Manufactured in the United States, Rust-Oleum provides its low odor formula in the form of a spray can, which is relatively easy and fast to use.
It can provide your interior wood projects with a crystal-clear finish that never yellows.
Can Varathane Be Used Over Latex Paint?
Many times, people ask me whether they can put clear Varathane over latex paint.
Well, the sweet and simple answer is you can apply Varathane to just any surface that’s already coated with interior or exterior latex paint.
The sealer, when applied, will work exceptionally well to protect the surfaces (like tables, chairs, workbenches, countertops, and even walls) from possible marks, scratches, and yellowing.
The good thing is you do not need special tools for application, and it dries quickly.
Final Thoughts
Applying Varathane clear finish is a simple way to protect and enhance the natural beauty of your wood projects.
Whether you choose water-based or oil-based Varathane, the key is to follow proper surface preparation, apply thin and even coats, and allow sufficient drying time between layers.
With patience and the right technique, your wood will achieve a durable, smooth, and professional-looking finish that lasts for years.
Always remember: good preparation and careful application are what make the difference between an ordinary finish and a flawless one.

Douglas Becker (aka Painter Doug) has over twenty years of experience as a painter in Adkins, Texas. At present, he resides in Florida with his family.
From painting multi-storeyed houses, condos, and apartments to large commercial buildings and small offices, he had served various customers in areas not only in Adkins but also in Southwest Florida, Sarasota, Naples, and many more. To know more about him check here.

